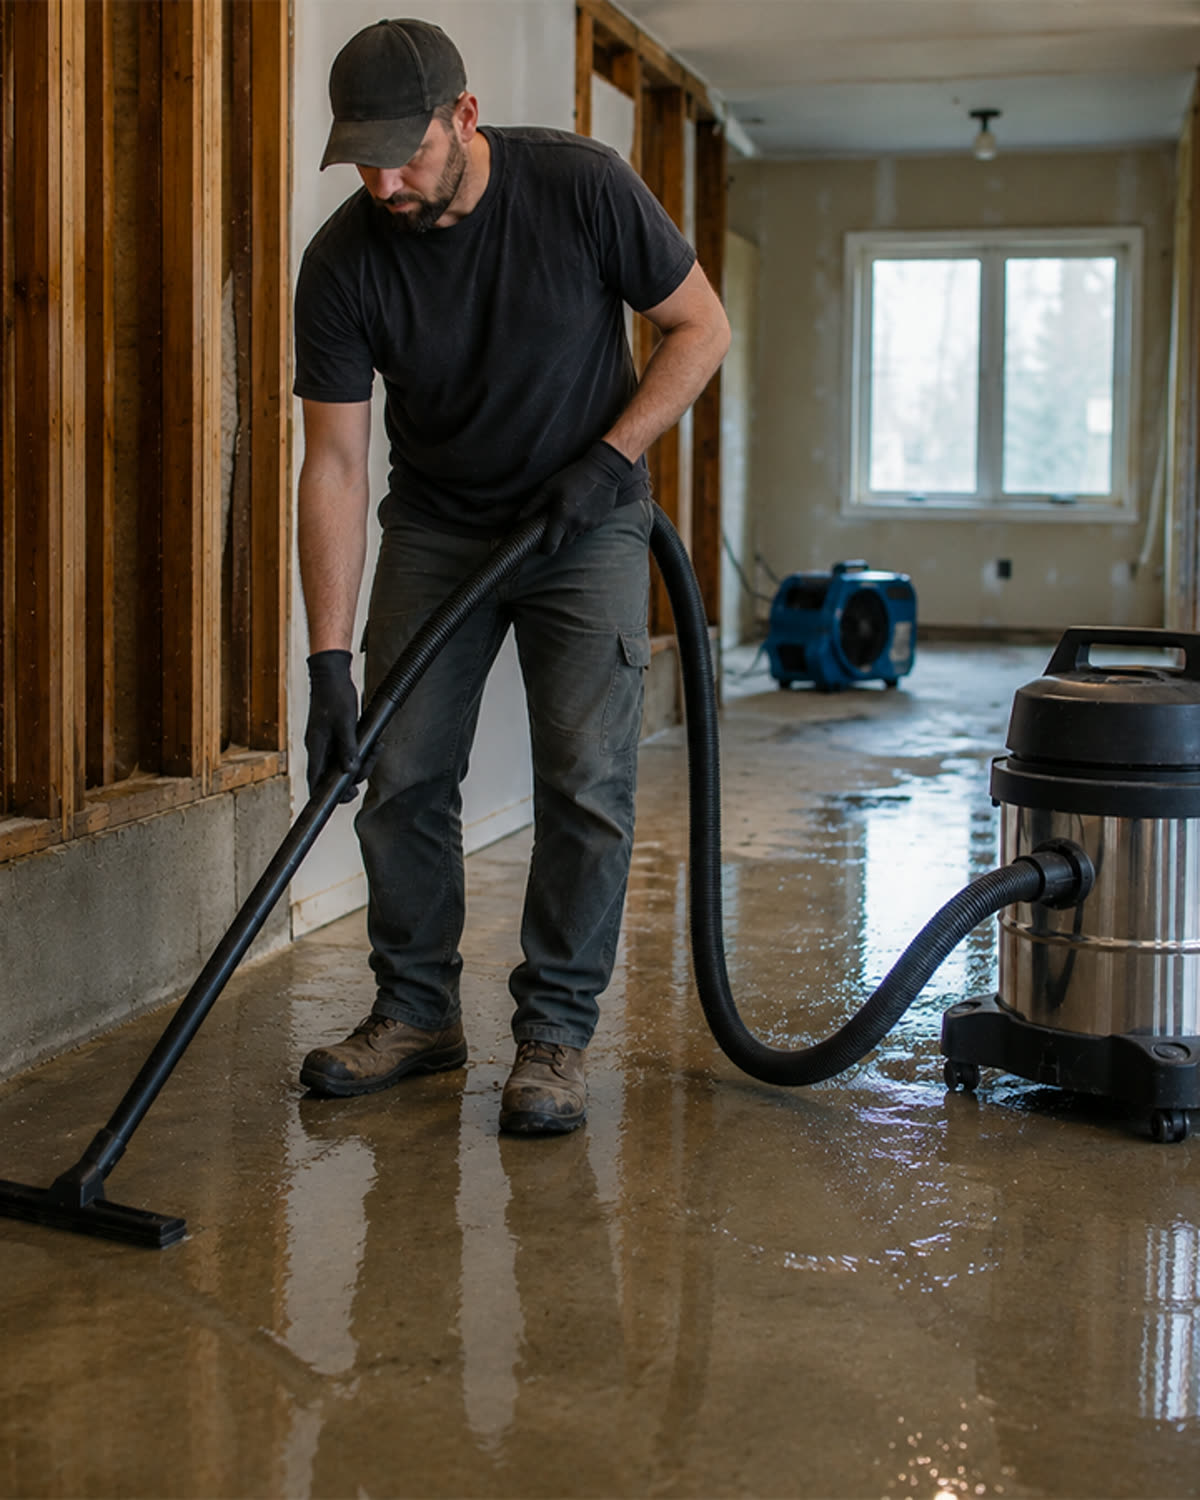
Your shop vacuum is running.
But something is wrong.
Maybe the suction has dropped.
Maybe dust is blowing from the exhaust.
Maybe the motor sounds different.
Maybe the hose keeps clogging.
Or perhaps the vacuum has started shutting off in the middle of a job.
The natural reaction is to blame the motor.
But most shop vacuum problems begin somewhere else.
A dirty filter.
A full collection bag.
A blocked hose.
A leaking seal.
A stuck float.
A poorly installed component.
Before replacing the vacuum or ordering expensive parts, troubleshoot the complete airflow system.
This guide will help you identify the symptom, trace it back to its most likely cause, and determine the safest next step.
Quick Answer
Most shop vacuum problems can be traced to one of five categories:
- Airflow restriction
- Air leakage
- Filtration failure
- Mechanical wear
- Electrical failure
Start by checking the filter, collection system, hose, inlet, attachments, seals, float mechanism, and exhaust.
Only investigate the motor after the complete airflow path has been inspected.
Stop using the vacuum immediately if you notice:
- Smoke
- Flames
- Melting plastic
- Strong electrical odor
- Exposed wiring
- Severe sparking
- Grinding
- Repeated circuit trips
- Liquid entering a vacuum not configured for wet pickup
Start With the Symptom
Do not begin by taking the vacuum apart.
Begin by identifying exactly what changed.
Common symptoms include:
- Weak suction
- No suction
- Repeated hose clogs
- Filter clogging quickly
- Dust blowing from the exhaust
- Burning smell
- Excessive heat
- Loud or unusual noise
- Vacuum shutting off
- Vacuum not turning on
- Water reaching the filter
- Collection bag collapsing
- Debris falling back out of the hose
- Poor pickup at the attachment
- Motor running but little airflow
Each symptom provides diagnostic information.
🔬 Vacuum Science
A shop vacuum depends on a continuous path of moving air.
Cleaning Attachment

↓

Hose

↓

Vacuum Inlet

↓

Collection Bag or Tank

↓

Filter

↓

Motor and Fan

↓

Exhaust
A problem at any point can affect the entire machine.
For example:
- A clogged filter reduces motor cooling.
- A cracked hose reduces pickup at the floor.
- A full bag increases filter loading.
- A damaged filter allows dust to reach the exhaust.
- A blocked exhaust increases heat.
- A stuck float can eliminate airflow almost completely.
The symptom may appear in one location even though the cause is somewhere else.
The Five-Failure Framework™
Nearly every shop vacuum problem belongs to one of five failure categories.
1. Restriction
Something prevents air from moving freely.
Examples:
- Clogged filter
- Blocked hose
- Full collection bag
- Packed attachment
- Blocked inlet
- Closed float
- Restricted exhaust
2. Leakage
Air enters through an unintended opening.
Examples:
- Cracked hose
- Loose hose connection
- Damaged lid seal
- Warped tank
- Missing gasket
- Cracked housing
3. Filtration Failure
Dust is not being captured correctly.
Examples:
- Torn filter
- Incorrect filter
- Improper installation
- Damaged collection bag
- Filter bypass
- Poor seal around filter
4. Mechanical Failure
Moving parts are worn, damaged, or obstructed.
Examples:
- Damaged fan
- Worn bearings
- Loose motor mount
- Debris contacting fan
- Worn carbon brushes
5. Electrical Failure
The motor is not receiving or using power correctly.
Examples:
- Damaged cord
- Faulty switch
- Undersized extension cord
- Tripped breaker
- Loose connection
- Failed motor winding
The Troubleshooting Order™
Always inspect the vacuum in this order:
1. Safety

↓

2. Collection Capacity

↓

3. Filter

↓

4. Hose and Attachments

↓

5. Seals and Connections

↓

6. Float and Exhaust

↓

7. Motor and Electrical System
This order begins with the simplest and most common causes.
It also reduces the chance of replacing parts unnecessarily.
Safety Check Before Troubleshooting
Turn the vacuum off and unplug it before:
- Opening the tank
- Removing the filter
- Clearing the hose
- Inspecting the inlet
- Touching internal components
- Checking the float
- Removing motor housing covers
Do not troubleshoot electrical components while the vacuum is connected to power unless the procedure is specifically authorized by the manufacturer and completed by a qualified person.
Use appropriate protective equipment when handling:
- Drywall dust
- Concrete dust
- Silica-containing material
- Mold
- Lead-contaminated dust
- Unknown construction debris
- Hazardous substances
Troubleshooting should not create a new exposure risk.
Symptom 1: Weak Suction
Weak suction is the most common shop vacuum complaint.
It usually develops gradually.
You may notice:
- More passes required
- Dust remaining on the floor
- Heavy debris moving slowly
- Poor pickup through wide tools
- Less airflow at the hose end
- The motor sounding strained or unusually high-pitched
Most Likely Causes
- Dirty filter
- Full tank or bag
- Partial hose clog
- Blocked attachment
- Air leak
- Hose kink
- Excessive hose length
- Incorrect filter installation
- Restricted exhaust
- Worn motor or fan
Diagnostic Sequence
Step 1: Empty the Vacuum
Remove collected debris before testing anything else.
A packed collection system may obstruct airflow.
Step 2: Inspect the Filter
Clean or replace the filter if it is heavily loaded, wet, damaged, or permanently restricted.
Step 3: Test at the Vacuum Inlet
Remove the hose and briefly test airflow at the inlet according to the manufacturer’s safe operating instructions.
- Strong airflow at the inlet suggests the problem is in the hose or attachment.
- Weak airflow at the inlet suggests the problem is inside the vacuum.
Step 4: Add the Hose
Reconnect the hose without an attachment.
If performance drops significantly, inspect for:
- Internal clog
- Cracks
- Collapsed sections
- Excessive length
- Tight bends
Step 5: Add the Attachment
If airflow drops after installing the tool, the attachment is blocked, too narrow, or poorly matched to the debris.
Weak Suction Decision Tree
Weak Suction?

↓

Tank or Bag Full?

YES → Empty It

NO

↓

Filter Dirty?

YES → Clean or Replace

NO

↓

Strong Airflow at Inlet?

YES → Inspect Hose and Tool

NO

↓

Check Seals, Float, and Exhaust

↓

Still Weak?

Inspect Motor and Fan
Symptom 2: No Suction
If the motor runs but there is almost no suction, the airflow path may be completely blocked.
Most Likely Causes
- Hose fully clogged
- Float mechanism closed
- Filter completely blocked
- Bag blocking inlet
- Attachment sealed against surface
- Internal inlet obstruction
- Motor fan damaged
- Hose connected to blower port instead of suction port
What to Check
- Disconnect the hose.
- Test airflow at the inlet.
- Inspect the hose from both ends.
- Check the float mechanism.
- Inspect the collection bag position.
- Examine the filter for severe restriction.
- Confirm the hose is connected to the correct port.
A motor that runs with no airflow can overheat quickly.
Do not continue operating the vacuum while the airflow path remains blocked.
Symptom 3: The Hose Keeps Clogging
A hose clog is often treated as an isolated problem.
Repeated clogging usually indicates reduced air velocity.
Debris moves through the hose only while the air is moving fast enough to carry it.
Most Likely Causes
- Loaded filter
- Full collection system
- Hose too small for debris
- Tight bends
- Mixed fine and bulky material
- Wet dust buildup
- Restricted attachment
- Damaged hose interior
- Too much debris entering at once
The Clog Formation Cycle™
Airflow Slows

↓

Debris Loses Velocity

↓

Material Settles

↓

Opening Becomes Smaller

↓

Airflow Slows Further

↓

Complete Blockage
Clearing the hose removes the final blockage.
It does not necessarily correct the original airflow loss.
Corrective Steps
- Clean the filter.
- Empty the bag or tank.
- Straighten the hose.
- Use a larger hose for bulky debris.
- Vacuum heavy material in smaller amounts.
- Separate wet and dry cleanup.
- Clean dried deposits from the hose.
- Use a wider attachment opening.
Symptom 4: The Filter Clogs Too Quickly
A filter that loads within minutes is probably receiving too much fine dust.
This is especially common with:
- Drywall dust
- Concrete dust
- Cement powder
- Joint compound
- Sanding dust
- Silica-containing material
Most Likely Causes
- No collection bag
- Damaged collection bag
- Incorrect bag installation
- Bag not designed for fine dust
- Excessive fine-dust volume
- Wrong filter
- Wet dust
- Overfilled tank
- Airflow pattern sending dust directly toward filter
Corrective Steps
- Confirm the correct filter is installed.
- Use an appropriate collection bag or pre-collection method.
- Inspect the bag for tears.
- Empty the collection system earlier.
- Avoid mixing moisture with fine powder.
- Reduce the amount of dust reaching the filter.
- Replace a filter that no longer recovers after cleaning.
The best way to extend filter life is not cleaning it more aggressively.
It is giving the filter less dust to capture.
Symptom 5: Dust Blows Out of the Exhaust
Visible exhaust dust means particles are bypassing or passing through the filtration system.
Stop vacuuming until the cause is identified.
Continuing may contaminate the room and expose the motor to fine dust.
Most Likely Causes
- Missing filter
- Torn filter
- Incorrectly installed filter
- Damaged filter gasket
- Wrong filter for material
- Torn collection bag
- Cracked housing
- Loose lid
- Internal filter support damage
- Filter not designed for fine particles
Inspection Sequence
Check the Filter
Look for:
- Tears
- Holes
- Separated pleats
- Cracked end caps
- Poor seating
- Damaged gasket
Check the Collection Bag
Inspect:
- Collar
- Seams
- Tears
- Installation
- Compatibility
Check the Housing and Lid
Look for:
- Cracks
- Warping
- Missing seals
- Loose latches
- Debris on sealing surfaces
Dust Bypass Principle™
If Air Can Bypass the Filter,

Dust Can Bypass the Filter.
A high-efficiency filter cannot protect the exhaust if air is traveling around it instead of through it.
Symptom 6: Burning Smell
A burning odor should never be ignored.
It may indicate restricted airflow, overheating, friction, or electrical failure.
Identify the Odor
Hot Dust
Often caused by dust collecting on warm surfaces.
Hot Plastic
May indicate overheating housing components or material contacting a hot area.
Burning Rubber
May indicate a slipping belt on equipment that uses one, damaged insulation, or friction.
Electrical Burning
May indicate overheating wiring, motor windings, switch failure, or arcing.
Most Likely Causes
- Clogged filter
- Blocked hose
- Full collection bag
- Restricted cooling vents
- Continuous heavy operation
- Worn motor brushes
- Failing bearings
- Debris contacting fan
- Damaged wiring
- Motor winding failure
Immediate Response
Stop and unplug the vacuum if you notice:
- Strong electrical odor
- Smoke
- Melting
- Sparks
- Grinding
- Repeated shutdowns
- Extremely hot housing
Do not restart the vacuum until it has cooled and the cause has been inspected.
Symptom 7: Vacuum Is Overheating
The motor depends on airflow for cooling.
Anything that restricts air movement can increase temperature.
Most Likely Causes
- Dirty filter
- Blocked hose
- Full tank
- Packed bag
- Blocked cooling vents
- Restricted exhaust
- Long continuous operation
- High ambient temperature
- Motor wear
- Undersized extension cord
Heat Cascade™
Restriction

↓

Reduced Airflow

↓

Reduced Motor Cooling

↓

Higher Internal Temperature

↓

Insulation and Bearing Stress

↓

Shorter Motor Life
Corrective Steps
- Stop the vacuum.
- Allow it to cool.
- Empty the collection system.
- Clean or replace the filter.
- Clear the hose and inlet.
- Clean external cooling vents.
- Confirm the exhaust is open.
- Check extension-cord requirements.
- Reduce continuous operating time if required by the manufacturer.
Repeated overheating is not normal.
Symptom 8: Vacuum Is Louder Than Normal
Shop vacuums are naturally loud.
A sudden change in sound is more important than the absolute volume.
High-Pitched Whine
Likely causes:
- Clogged filter
- Partial hose blockage
- Float restricting airflow
- Narrow air leak
- Blocked attachment
Whistling
Likely causes:
- Air leak
- Loose hose connection
- Cracked seal
- Small opening in hose
- Partially blocked inlet
Grinding or Growling
Likely causes:
- Worn bearings
- Fan damage
- Motor damage
- Foreign object contacting moving parts
Stop using the vacuum until inspected.
Clicking or Ticking
Likely causes:
- Debris touching fan
- Loose component
- Damaged fan blade
- Material caught in wheel or attachment
Rattling
Likely causes:
- Loose lid
- Loose fastener
- Damaged caster
- Loose motor mount
- Debris inside housing
Symptom 9: Vacuum Shuts Off During Use
Some vacuums include thermal protection that stops the motor when temperatures become unsafe.
The vacuum may restart after cooling.
This does not mean the problem is solved.
Most Likely Causes
- Overheating
- Clogged filter
- Blocked hose
- Full bag
- Restricted vents
- Undersized extension cord
- Faulty switch
- Loose electrical connection
- Worn motor brushes
- Motor failure
Diagnostic Questions
- Does it restart after cooling?
- Does it shut off faster under heavy load?
- Is the motor housing unusually hot?
- Does the extension cord feel warm?
- Does the shutdown happen on multiple outlets?
- Is airflow weak before the shutdown?
If the vacuum repeatedly shuts down, discontinue use until the cause is corrected.
Symptom 10: Vacuum Will Not Turn On
Begin with the external power supply before assuming the motor has failed.
Check These First
- Wall outlet
- Breaker or fuse
- Ground-fault outlet
- Extension cord
- Plug
- Power switch
- Cord damage
- Thermal protection
- Proper lid assembly on models with safety interlocks
Basic Power Sequence
Vacuum Will Not Start?

↓

Test Outlet

↓

Check Breaker or GFCI

↓

Remove Extension Cord

↓

Inspect Plug and Cord

↓

Allow Vacuum to Cool

↓

Try Again

↓

Still Dead?

Qualified Electrical Inspection
Do not bypass switches, grounding systems, thermal protection, or safety interlocks.
Symptom 11: Motor Runs Intermittently
A vacuum that starts and stops unpredictably may have an electrical or mechanical fault.
Possible Causes
- Damaged power cord
- Loose plug
- Faulty switch
- Worn motor brushes
- Loose internal connection
- Thermal shutdown
- Motor winding damage
Movement of the cord should not control whether the vacuum runs.
If bending or repositioning the cord changes operation, stop using the vacuum immediately.
Symptom 12: Vacuum Trips the Breaker
A breaker may trip because of excessive current, a short circuit, or too many devices using the same circuit.
Possible Causes
- Overloaded circuit
- Damaged extension cord
- Short circuit
- Motor failure
- Moisture in electrical components
- Faulty outlet
- Incorrect voltage
- Locked or damaged motor
Do not repeatedly reset a breaker without identifying the cause.
A breaker is a safety device, not an inconvenience to bypass.
Symptom 13: Collection Bag Collapses
A collection bag should expand as air and debris enter it.
If it collapses, airflow or pressure conditions may be wrong.
Possible Causes
- Bag installed incorrectly
- Bag collar partially blocked
- Inlet obstruction
- Bag not compatible with vacuum
- Bag packed too tightly
- Wet material entering dry bag
- Filter or airflow configuration problem
Inspect the bag connection and confirm the bag is approved for the vacuum and application.
Symptom 14: Debris Falls Back Out of the Hose
If debris falls from the hose when the vacuum stops, the material may not be reaching the collection chamber.
Possible Causes
- Weak airflow
- Partial hose clog
- Hose held vertically
- Debris too large
- Filter restriction
- Full collection system
- Attachment too narrow
Restore airflow and use a hose appropriate for the debris size.
Symptom 15: Poor Pickup Only at the Floor Tool
If airflow feels strong at the hose but weak at the floor attachment, the problem is probably the tool.
Possible Causes
- Tool opening blocked
- Tool sealed too tightly against floor
- Worn or misadjusted brush strip
- Narrow internal passage
- Incorrect adapter
- Tool too wide for available airflow
Test with a different attachment.
Wide tools distribute airflow over a larger area and may require a vacuum designed for that opening size.
Symptom 16: Water Reaches the Filter
Wet/dry vacuums must be configured correctly for liquid pickup.
Possible Causes
- Float mechanism damaged
- Float installed incorrectly
- Tank overfilled
- Vacuum tilted
- Wrong filter configuration
- Excessive foaming
- Liquid entering too quickly
Stop the vacuum and follow the manufacturer’s wet-pickup instructions.
Do not assume every dry filter can be used for liquid collection.
Symptom 17: Foam or Liquid Comes From the Exhaust
This is a serious indication that liquid or foam has reached areas it should not.
Possible Causes
- Tank overfilled
- Float failed
- Vacuum tipped over
- Excessive foaming
- Incorrect wet-pickup setup
- Damaged internal components
Turn off and unplug the vacuum immediately.
Inspect and dry the machine according to manufacturer instructions before further use.
Symptom 18: The Vacuum Has a Musty or Sour Smell
Odors often come from moisture, biological material, or debris left inside the vacuum.
Possible Causes
- Water stored in tank
- Damp filter
- Wet collection bag
- Mold
- Food debris
- Organic material
- Dirty hose
- Contaminated attachments
Corrective Steps
- Empty the tank.
- Dispose of contaminated bags.
- Clean approved surfaces.
- Dry all components completely.
- Replace filters that cannot be safely cleaned.
- Store the vacuum open until fully dry.
Never mix cleaning chemicals unless the manufacturer specifically permits it.
Symptom 19: Static Shocks While Vacuuming
Fine dry particles moving through plastic hoses can create static electricity.
Static is especially common with:
- Drywall dust
- Wood dust
- Plastic particles
- Dry indoor environments
Corrective Considerations
- Use manufacturer-approved anti-static hoses or accessories.
- Confirm proper grounding where applicable.
- Avoid unauthorized electrical modifications.
- Follow dust-specific equipment requirements.
Static can be more than uncomfortable when combustible dust or flammable vapors are present.
Standard shop vacuums may not be suitable for those environments.
Symptom 20: Suction Changes When the Hose Moves
Performance that changes as the hose is bent or repositioned suggests physical hose damage.
Possible Causes
- Collapsing inner wall
- Loose cuff
- Crack opening under movement
- Flexible blockage shifting inside hose
- Kinked section
Replace a structurally damaged hose rather than relying on repeated temporary repairs.
Complete Symptom Diagnostic Table
| Symptom | Most Likely Causes | First Check |
|---|---|---|
| Weak suction | Filter, bag, partial clog, leak | Filter |
| No suction | Full clog, stuck float, blocked inlet | Hose and float |
| Repeated clogs | Reduced airflow, small hose, wet debris | Filter and bag |
| Filter clogs quickly | Excessive fine dust | Collection system |
| Dust from exhaust | Filter damage or bypass | Filter seal |
| Burning smell | Overheating or electrical fault | Stop and inspect |
| Excessive heat | Restricted airflow | Filter and hose |
| High-pitched noise | Airflow restriction | Filter |
| Grinding noise | Bearing or fan damage | Stop using |
| Vacuum shuts off | Thermal protection or electrical fault | Heat and airflow |
| Will not start | Power supply, switch, cord | Outlet |
| Trips breaker | Overload, short, motor fault | Circuit and cord |
| Bag collapses | Installation or blockage | Bag collar |
| Debris falls from hose | Weak airflow or clog | Filter and hose |
| Water at filter | Float or setup problem | Float |
| Liquid from exhaust | Overfill or float failure | Stop immediately |
| Musty odor | Moisture or contamination | Tank and filter |
| Static shocks | Dry fine dust | Approved anti-static equipment |
The Ten-Minute Diagnostic™
When the cause is unclear, use this complete process.
Minute 1: Safety
- Turn off the vacuum.
- Unplug it.
- Check for smoke, heat, damaged wiring, or liquid exposure.
Minute 2: Collection System
- Empty the tank.
- Inspect the bag.
- Check whether debris blocks the inlet.
Minutes 3–4: Filter
- Remove the filter.
- Inspect for loading, damage, moisture, and poor sealing.
- Clean or replace when necessary.
Minutes 5–6: Hose
- Look through both ends.
- Check for clogs, cracks, kinks, and collapsing sections.
Minute 7: Attachments
- Inspect the floor tool, crevice tool, adapter, or equipment port.
Minute 8: Seals
- Clean the lid edge.
- Inspect gaskets, hose cuffs, and filter seals.
Minute 9: Float and Exhaust
- Confirm the float moves freely.
- Make sure exhaust openings are clear.
Minute 10: Controlled Test
- Test at the inlet.
- Add the hose.
- Add the attachment.
- Identify when performance changes.
This process can locate many problems without disassembling the motor.
When to Repair the Vacuum
Repair may make sense when:
- The vacuum is structurally sound.
- Replacement parts are available.
- The motor has not suffered extensive damage.
- The repair cost is reasonable.
- The machine still fits the workload.
- The fault is limited to a hose, seal, switch, filter, wheel, or similar component.
When to Replace the Vacuum
Replacement may be more practical when:
- The tank or housing is badly cracked.
- The motor repeatedly overheats.
- Multiple major systems are failing.
- Electrical damage is extensive.
- Parts are unavailable.
- Repair cost approaches replacement cost.
- The vacuum is not designed for the dust being collected.
- Downtime and consumable costs have become excessive.
- The machine can no longer meet jobsite safety requirements.
The purchase price should not be the only factor.
Consider:
- Repair costs
- Consumables
- Labor
- Downtime
- Filter replacement
- Bag replacement
- Productivity
- Equipment life
Troubleshooting Mistakes to Avoid
Replacing the Motor First
The filter, hose, bag, inlet, attachment, and seals are more common causes of poor performance.
Removing the Filter
This may expose the motor and surrounding air to damaging dust.
Continuing Through a Burning Smell
A small airflow problem can become permanent motor damage.
Clearing Only the Hose
Repeated clogs usually point to reduced airflow elsewhere.
Overfilling the Bag
A few extra minutes of capacity may cost much more in lost performance.
Using Compressed Air Recklessly
High-pressure air can damage filters and spread hazardous dust.
Bypassing Safety Devices
Do not disable floats, thermal protection, grounding, switches, or interlocks.
Assuming Loud Means Powerful
A louder or higher-pitched motor often indicates restriction.
Preventing Future Problems
The most effective troubleshooting strategy is prevention.
Before each major job:
- Inspect the cord.
- Check the collection capacity.
- Confirm the correct filter.
- Inspect the hose.
- Check seals.
- Select the proper attachment.
- Test airflow.
During use:
- Monitor suction.
- Listen for sound changes.
- Watch exhaust.
- Check heat.
- Empty before airflow collapses.
After use:
- Dispose of debris properly.
- Inspect the filter.
- Clear the hose.
- Clean the inlet.
- Dry wet components.
- Store the vacuum correctly.
The Early Warning Principle™
Vacuum problems usually provide warnings before failure.
Small Performance Change

↓

Visible Symptom

↓

Repeated Interruption

↓

Heat or Mechanical Stress

↓

Component Failure
Responding at the first stage is inexpensive.
Waiting until the final stage usually is not.
Diagram Placeholder
Interactive Shop Vacuum Troubleshooting Map
Create a labeled cutaway illustration showing:
- Cleaning attachment
- Hose
- Hose cuff
- Vacuum inlet
- Collection bag
- Tank
- Filter
- Filter gasket
- Float mechanism
- Motor fan
- Cooling vents
- Exhaust
- Power switch
- Cord
Each component should be clickable.
Clicking a component reveals:
- Common symptoms
- Likely failures
- Inspection steps
- Related article
Frequently Asked Questions
What is the first thing I should check when my shop vacuum stops working properly?
Start with the collection level and filter. These are the most common causes of reduced airflow.
Why does my shop vacuum run but have no suction?
The hose may be clogged, the float may be closed, the filter may be completely restricted, or the inlet may be blocked.
Why does my vacuum sound powerful but pick up poorly?
The motor may still be running at high speed while a restriction, leak, or blocked attachment reduces useful airflow.
Can a dirty filter damage the motor?
Yes. A severely loaded filter reduces cooling airflow and increases motor temperature.
Why does my vacuum work after I clean the filter but lose suction again quickly?
Too much fine dust is reaching the filter. Improve the earlier collection stage rather than relying on repeated filter cleaning.
Why does dust come out of the exhaust?
Dust is bypassing or passing through the filter because of damage, incorrect installation, poor sealing, or inadequate filtration.
Why does my shop vacuum keep overheating?
The most common cause is restricted airflow from the filter, hose, collection system, inlet, or exhaust.
Is it safe to use a shop vacuum that smells like it is burning?
Stop and inspect it. Do not continue if the smell is strong, electrical, accompanied by smoke, or combined with excessive heat.
Why does my shop vacuum shut off and restart later?
Thermal protection may be stopping an overheating motor. Restoring airflow is necessary before continued use.
Should I repair or replace my shop vacuum?
Compare repair cost, age, condition, downtime, consumable use, and whether the vacuum is appropriate for the workload.
Can I troubleshoot the motor myself?
Basic external inspection is reasonable. Internal electrical and motor repairs should be handled according to manufacturer instructions by a qualified person.
Key Takeaways
A shop vacuum problem should not be diagnosed by guessing.
Start with the symptom.
Then follow the airflow.
Check:
- Collection capacity
- Filter condition
- Hose
- Attachments
- Inlet
- Seals
- Float
- Exhaust
Only after those systems have been ruled out should you investigate the motor or electrical components.
The most important troubleshooting principle is simple:
The location of the symptom is not always the location of the problem.
A clogged hose may begin with a dirty filter.
A hot motor may begin with a full bag.
Exhaust dust may begin with a damaged seal.
Weak suction may begin with a cracked hose.
When you understand the shop vacuum as one connected airflow system, troubleshooting becomes faster, safer, and far more accurate.
Related guides
- the guide to multi-stage shop vacuum filtration: how bags, filters, and cyclones work together
- CFM vs. Water Lift vs. Horsepower
- How to Increase Shop Vacuum Suction
- airflow, and why it matters more than horsepower
- Why Is My Shop Vacuum Blowing Dust Out the Exhaust
- why the exhaust runs hot
- Why Does My Shop Vacuum Smell Like It’s Burning
- diagnosing a collapsing vacuum hose
- Why Does My Shop Vacuum Keep Clogging
- Why Is My Shop Vacuum Leaving Dust Behind
- Why Shop Vacuums Lose Suction
- why the pull comes and goes
- a shop vac that's too loud to work beside
- Why Does My Shop Vacuum Keep Tripping the Breaker
- How to Test Shop Vacuum Suction and Airflow
- Why Vacuum Motors Overheat
- what every hour of a dead vac costs on site