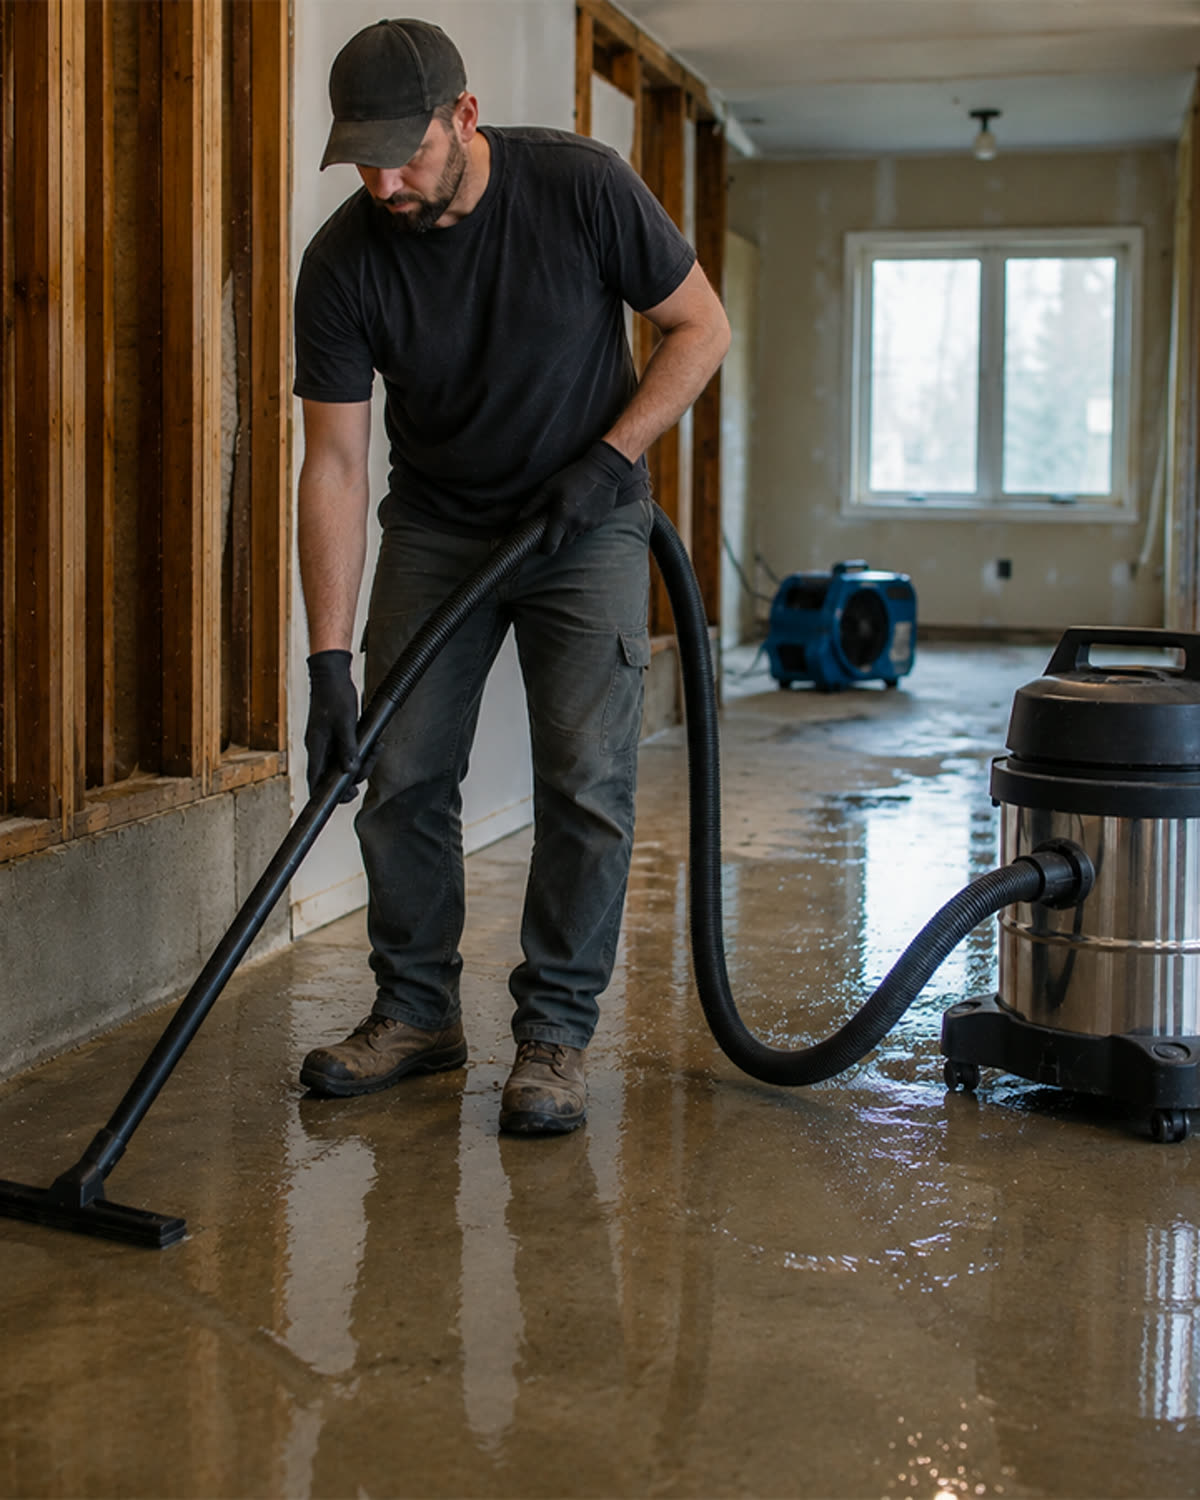
Your shop vacuum used to pick up almost anything.
Dust disappeared in one pass.
Debris moved quickly through the hose.
Cleanup felt effortless.
Now you find yourself going over the same area repeatedly.
The vacuum still runs.
The motor still sounds powerful.
But the pickup performance is nowhere near what it used to be.
Before replacing the vacuum, understand one important fact:
Most shop vacuums do not permanently lose suction overnight.
Their performance usually declines because something is restricting airflow, leaking air, or interfering with the vacuum’s ability to transport debris.
Restore the airflow path, and you can often restore most of the original performance.
Quick Answer
To increase shop vacuum suction:
- Clean or replace the filter.
- Empty the collection container or bag.
- Check the hose for clogs.
- Inspect the hose for cracks or damage.
- Clean the inlet and attachments.
- Make sure the filter is installed correctly.
- Inspect lid and hose seals for leaks.
- Use the correct hose and attachment.
- Prevent fine dust from overloading the filter.
- Avoid sharp hose bends.
- Check the float mechanism on wet/dry vacuums.
- Inspect the motor and fan if airflow does not improve.
In most cases, weak pickup is caused by restricted airflow, not a weak motor.
Suction and Airflow Are Not the Same Thing
People often use the words “suction” and “airflow” interchangeably.
They are related, but they are not identical.
Suction is the pressure difference the vacuum creates.
Airflow is the volume of air moving through the hose and vacuum system.
Suction helps lift debris.
Airflow carries that debris through the hose.
A vacuum may still create noticeable suction at the hose opening while moving too little air to clean efficiently.
That is why placing your hand over the hose is not always an accurate performance test.
The vacuum may feel strong while its actual debris-moving capacity has dropped significantly.
🔬 Vacuum Science
A vacuum creates a low-pressure area inside the machine.
Atmospheric pressure pushes surrounding air into the hose.
That moving air carries dust and debris with it.
For the system to work properly, air must move through the entire path:
Cleaning Tool

↓

Hose

↓

Vacuum Inlet

↓

Collection System

↓

Filter

↓

Motor and Fan

↓

Exhaust
A restriction or leak anywhere in this path can reduce cleaning performance.
The Airflow Loss Map™
Lost suction usually comes from one of three problems:
Restriction

Air cannot move through the system.

↓

Leakage

Air enters somewhere other than the cleaning tool.

↓

Mechanical Loss

The motor or fan can no longer generate normal performance.
Restrictions are the most common.
Leaks are second.
Mechanical failures should usually be investigated only after the airflow system has been checked.
Step 1 — Clean the Filter
A loaded filter is one of the most common causes of weak shop vacuum performance.
As dust fills the filter media, less air can pass through it.
The motor may still run normally.
It may even sound louder or higher pitched.
But the amount of useful airflow moving through the hose decreases.
Remove and inspect the filter according to the manufacturer’s instructions.
Look for:
- Thick surface dust
- Dust packed between pleats
- Embedded drywall or concrete dust
- Wet or hardened material
- Collapsed filter media
- Tears or damaged seals
Clean the filter using an approved method.
Replace it if cleaning no longer restores acceptable airflow.
Step 2 — Empty the Collection Container or Bag
A full vacuum does more than run out of storage capacity.
It also interferes with airflow.
As the container fills:
- Air has less room to circulate.
- Dust remains suspended near the filter.
- Collection bags may expand into the airflow path.
- Debris may partially block the inlet.
Do not wait until the container is packed completely full.
For heavy fine-dust cleanup, emptying earlier can preserve airflow and reduce filter loading.
The Capacity Trap™
Contractors often try to maximize capacity by filling every bag or container completely.
That may save a few minutes of emptying time.
But it can create:
- Slower cleanup
- Faster filter clogging
- More motor heat
- More frequent hose blockages
Maximum capacity does not always produce maximum productivity.
Step 3 — Check the Hose for Clogs
A partial blockage may reduce airflow long before the hose becomes completely clogged.
Common blockage materials include:
- Wood scraps
- Screws
- Tape
- Insulation
- Drywall chunks
- Plastic packaging
- Wet dust
- Hair or fibers
Disconnect the hose and inspect it from both ends.
A flashlight can help reveal material trapped inside.
For long hoses, carefully pass an appropriate flexible rod through the hose without puncturing or damaging it.
Never use sharp metal objects that could tear the hose wall.
Step 4 — Inspect the Hose for Cracks and Holes
A cracked hose can make the vacuum appear weak even when the motor and filter are functioning correctly.
The vacuum pulls air through the crack instead of through the cleaning tool.
This reduces useful pickup at the end of the hose.
Inspect:
- Flexible sections near each connector
- Areas that drag across the ground
- Crushed sections
- Split seams
- Loose cuffs
- Damaged locking tabs
Small holes may be difficult to see.
With the vacuum operating, listen for hissing or feel along the hose for air movement.
Follow all safety instructions and keep hands away from moving components.
Step 5 — Check the Vacuum Inlet
Debris often becomes trapped where the hose connects to the vacuum.
This location may include:
- A narrow inlet
- A sharp internal bend
- A deflector
- A collection-bag connector
Remove the hose and inspect the inlet directly.
A blockage near the tank can reduce airflow while leaving the visible hose apparently clear.
Step 6 — Clean the Attachments
The problem may not be inside the vacuum at all.
Floor tools, crevice tools, adapters, and dust-extraction ports can become restricted.
Inspect the attachment for:
- Packed dust
- Hair
- Fibers
- Dried mud
- Oversized debris
- Narrow adapters
- Damaged internal passages
Test the vacuum briefly without the attachment.
If performance immediately improves, the attachment is restricting airflow.
Step 7 — Confirm the Filter Is Installed Correctly
A filter that is loose, misaligned, or improperly seated can disrupt performance.
Depending on the vacuum design, incorrect installation may:
- Allow dust to bypass the filter
- Restrict the intended airflow path
- Prevent the lid from sealing
- Allow the filter to collapse or shift
Check:
- Filter orientation
- Retaining cap
- Locking mechanism
- Rubber gasket
- Filter cage
- Manufacturer installation instructions
Do not operate the vacuum without the required filter simply to gain more airflow.
That can send dust into the motor and exhaust.
Step 8 — Inspect the Lid and Container Seal
The vacuum lid must seal tightly against the collection container.
If air enters around the lid, less air is pulled through the hose.
Inspect the lid seal for:
- Dirt
- Warping
- Cracks
- Missing gasket material
- Damaged latches
- Improper alignment
Clean the sealing surfaces before reassembling the vacuum.
Even a small piece of debris caught beneath the lid can create a leak.
The Useful Air Principle™
A vacuum does not benefit from every cubic foot of air it moves.
It benefits from air entering through the cleaning tool.
Air Entering Through Hose

=

Useful Airflow

Air Entering Through Cracks or Leaks

=

Wasted Airflow
The motor may still be moving air rapidly.
But if that air enters through a damaged seal or hose, it contributes little to cleanup.
Step 9 — Straighten the Hose
Every bend creates resistance.
Sharp bends create more resistance than gradual curves.
Avoid:
- Tight coils
- Kinks
- Pinched hose sections
- Hose trapped beneath equipment
- Unnecessary excess hose
Lay out the hose as straight as the job allows.
A longer hose may be convenient, but added length and repeated bends can reduce performance at the cleaning tool.
Step 10 — Use the Correct Hose Diameter
Hose diameter changes how the vacuum behaves.
A smaller hose can create higher air velocity in some applications, making it useful for fine dust and tool extraction.
However, it also:
- Clogs more easily
- Restricts bulky debris
- Adds resistance
- Struggles with larger material
A larger hose generally handles:
- Wood chips
- Construction debris
- Gravel
- Larger fragments
more effectively.
Choose the hose based on the debris and the vacuum manufacturer’s specifications.
Simply using the smallest available hose does not automatically increase useful suction.
Step 11 — Match the Attachment to the Job
Narrow attachments concentrate pickup over a small area.
Wide floor tools cover more surface.
Neither is automatically better.
A wide attachment may feel weak because available airflow is spread across a larger opening.
A narrow crevice tool may feel powerful but clean a much smaller area.
Use:
- Wide tools for light surface dust
- Narrow tools for concentrated debris
- Larger openings for bulky material
- Tool-specific ports for source extraction
The best attachment is the one that balances coverage, velocity, and debris size.
Step 12 — Reduce Fine Dust Reaching the Filter
Drywall, concrete, cement, joint compound, and sanding dust can load a filter very quickly.
Cleaning the filter may temporarily restore performance.
But unless the dust workload is reduced, suction will fall again.
A well-designed collection system removes debris in stages:
Large Debris Captured

↓

Fine Dust Collected

↓

Primary Filter Protected

↓

Optional Final Filtration

↓

Clean Exhaust
The goal is not merely to install a finer filter.
It is to prevent the filter from carrying the entire dust load.
Step 13 — Inspect the Collection Bag
A collection bag can improve vacuum performance by capturing dust before it reaches the filter.
However, a bag can also cause problems when it is:
- Overfilled
- Collapsed
- Incorrectly installed
- Torn
- Blocking the inlet
- Not compatible with the vacuum or application
Inspect the bag collar and make sure it is securely attached.
Confirm that the bag has room to expand without obstructing airflow.
Step 14 — Check the Float Mechanism
Wet/dry vacuums often include a float that prevents water from reaching the motor.
When the container fills with liquid, the float rises and blocks airflow.
Sometimes the float becomes stuck even after the container is emptied.
Symptoms may include:
- Sudden loss of airflow
- Motor running with almost no pickup
- Unusual high-pitched sound
Turn off and unplug the vacuum.
Inspect the float mechanism according to the owner’s manual.
Make sure it moves freely and is installed correctly.
Step 15 — Check for Exhaust Restrictions
Air must leave the vacuum as easily as it enters.
Inspect the exhaust area for:
- Dust buildup
- Blocked vents
- Objects placed against the exhaust
- Damaged exhaust filters
- Accessories restricting outlet airflow
Never cover exhaust vents to reduce noise.
Restricted exhaust airflow can reduce performance and increase motor temperature.
Step 16 — Test the Vacuum in Sections
Instead of guessing, isolate one part of the system at a time.
Test 1: Vacuum Without the Hose
Briefly test airflow at the inlet according to safe operating instructions.
If airflow is strong at the vacuum but weak at the hose end, the problem is probably in the hose or attachment.
Test 2: Add the Hose
If performance drops sharply, inspect the hose for restriction, excessive length, or leaks.
Test 3: Add the Attachment
If performance drops after adding the cleaning tool, inspect or replace the attachment.
This process helps locate the problem without replacing unnecessary parts.
The Suction Recovery Sequence™
Use this order whenever shop vacuum performance drops:
1. Stop and unplug the vacuum.

↓

2. Empty the collection system.

↓

3. Inspect and clean the filter.

↓

4. Check the hose and inlet.

↓

5. Inspect attachments.

↓

6. Check seals and connections.

↓

7. Inspect the float and exhaust.

↓

8. Test performance in sections.

↓

9. Investigate the motor and fan.
This sequence begins with the fastest, most common, and least expensive fixes.
When the Motor or Fan May Be the Problem
If the complete airflow path is clean, sealed, and correctly assembled but performance remains weak, the problem may be mechanical.
Possible causes include:
- Damaged fan blades
- Worn carbon brushes
- Failing bearings
- Reduced motor speed
- Electrical supply problems
- Internal air-path damage
Warning signs include:
- Strong burning odor
- Excessive sparking
- Grinding sounds
- Irregular motor speed
- Smoke
- Repeated thermal shutdowns
- Weak performance with all restrictions removed
Stop using the vacuum if smoke, melting, severe sparking, or electrical burning odors appear.
Repairs involving electrical components should be completed by a qualified person or service center.
Does More Horsepower Mean More Suction?
Not necessarily.
Horsepower ratings do not tell the entire performance story.
Actual cleaning performance depends on:
- Sealed suction
- Airflow
- Hose diameter
- Hose length
- Filter condition
- Collection-system design
- Attachment design
- Air leaks
- Motor and fan efficiency
A well-maintained vacuum with a smaller motor may outperform a more powerful machine with a clogged filter and leaking hose.
Can You Modify a Shop Vacuum for More Suction?
Be cautious with performance modifications.
Avoid:
- Removing required filters
- Drilling holes into the housing
- Blocking cooling vents
- Altering electrical components
- Installing incompatible motors
- Defeating safety mechanisms
These modifications may create temporary changes in sound or airflow while increasing exposure to dust, electrical hazards, motor damage, or fire risk.
The safest performance improvement is usually restoring the system to its intended operating condition.
What Not to Do
Do Not Operate Without the Required Filter
Removing the filter may increase airflow briefly, but it can allow dust to reach the motor and exhaust.
Fine dust may also be blown back into the room.
Do Not Keep Running a Blocked Vacuum
Restricted airflow can increase motor temperature.
Stop and diagnose the cause.
Do Not Overfill the Container
Maximum fill does not equal maximum efficiency.
Do Not Use Damaged Hoses
A temporary patch may reduce leakage, but severely damaged hoses should be replaced.
Do Not Assume the Motor Is the First Problem
Filters, bags, hoses, attachments, and seals cause far more performance problems than motors.
Shop Vacuum Performance Checklist
Before each major cleanup:
- Confirm the container has capacity.
- Inspect the collection bag.
- Check the filter condition.
- Verify the filter is properly seated.
- Inspect the hose for damage.
- Check the inlet for obstructions.
- Select the correct attachment.
- Straighten unnecessary hose bends.
- Confirm the lid is sealed.
- Test airflow before beginning.
During cleanup:
- Watch for reduced pickup.
- Listen for changes in motor sound.
- Monitor exhaust dust.
- Check for unusual heat or odors.
- Empty the collection system before airflow collapses.
After cleanup:
- Empty collected debris.
- Inspect and clean the filter as needed.
- Clear the hose.
- Check the seals.
- Store the hose without sharp bends.
- Allow wet components to dry fully.
Performance Diagnostic Table
| Symptom | Likely Cause | First Action |
|---|---|---|
| Gradual loss of pickup | Filter loading | Inspect and clean filter |
| Sudden loss of pickup | Hose clog or float activation | Inspect hose and float |
| Strong airflow without attachment | Restricted attachment | Clean or replace tool |
| Weak airflow with clean filter | Hose leak or inlet blockage | Inspect hose and inlet |
| Dust from exhaust | Filter damage or bypass | Inspect filter and seals |
| High-pitched motor sound | Restricted airflow | Check filter, hose, and bag |
| Burning smell | Overheating or electrical problem | Stop and inspect immediately |
| Rattling or grinding | Fan, bearing, or debris problem | Stop and inspect motor assembly |
Diagram Placeholder
The Shop Vacuum Airflow System
Create a cutaway illustration showing:
- Cleaning attachment
- Hose
- Tank inlet
- Collection bag
- Primary filter
- Motor and fan
- Exhaust
Add red warning icons at common restriction points:
- Attachment opening
- Hose bend
- Tank inlet
- Full collection bag
- Clogged filter
- Blocked exhaust
Caption:
Strong pickup depends on an open and sealed airflow path from the cleaning tool to the exhaust.
Common Myths
Myth: The motor gets weaker as the container fills.
Reality: The motor may be functioning normally while airflow becomes restricted by debris, the bag, or the filter.
Myth: Removing the filter is the fastest way to increase suction.
Reality: It may expose the motor and surrounding air to damaging fine dust.
Myth: A louder vacuum has stronger suction.
Reality: A high-pitched or strained sound often indicates restricted airflow.
Myth: A smaller hose always creates more suction.
Reality: Hose size changes velocity and resistance. An undersized hose may reduce overall airflow and clog more easily.
Myth: A new vacuum is the only solution.
Reality: Cleaning filters, clearing restrictions, repairing leaks, and selecting the proper attachments can restore substantial performance.
Frequently Asked Questions
Why does my shop vacuum have weak suction?
The most common causes are a loaded filter, full collection system, clogged hose, air leak, blocked attachment, or improperly installed filter.
Why does my vacuum have suction at the machine but not at the hose end?
The hose is probably clogged, leaking, excessively long, kinked, or restricted by an attachment.
Will cleaning the filter increase suction?
Cleaning a loaded filter can restore airflow and improve pickup performance. Replace the filter if cleaning no longer restores acceptable airflow.
Does a full shop vacuum lose suction?
Yes. A full container or collection bag can obstruct airflow and increase filter loading.
Can a cracked hose reduce suction?
Yes. Air entering through the crack reduces the useful airflow entering through the cleaning attachment.
Does hose length affect shop vacuum suction?
Longer hoses create additional resistance. The effect depends on hose diameter, airflow, vacuum design, and the number of bends.
How can I increase suction when vacuuming drywall dust?
Use an appropriate fine-dust collection system, protect the filter, empty the collection system early, and clean the filter before airflow drops severely.
Why does suction improve after I turn the vacuum off and restart it?
A temporary blockage, collapsing bag, stuck float, or shifting debris may be changing position. The underlying problem should still be inspected.
Should I replace the motor if suction is weak?
Not until the filter, bag, hose, attachments, seals, float, inlet, and exhaust have been checked. Mechanical motor problems are less common than airflow restrictions.
Key Takeaways
Increasing shop vacuum suction rarely requires making the motor more powerful.
It requires helping the existing motor move air efficiently.
Start with the complete airflow path:
- Clean the filter.
- Empty the collection system.
- Clear the hose.
- Inspect the attachments.
- Repair air leaks.
- Straighten hose bends.
- Confirm correct assembly.
- Reduce fine-dust loading.
Most performance loss occurs gradually.
One restriction reduces airflow.
Reduced airflow allows more dust to accumulate.
That additional dust creates even more restriction.
The cycle continues until the vacuum feels nearly useless.
The most effective solution is not chasing more horsepower.
It is restoring the vacuum’s ability to breathe.
Healthy airflow creates useful suction.