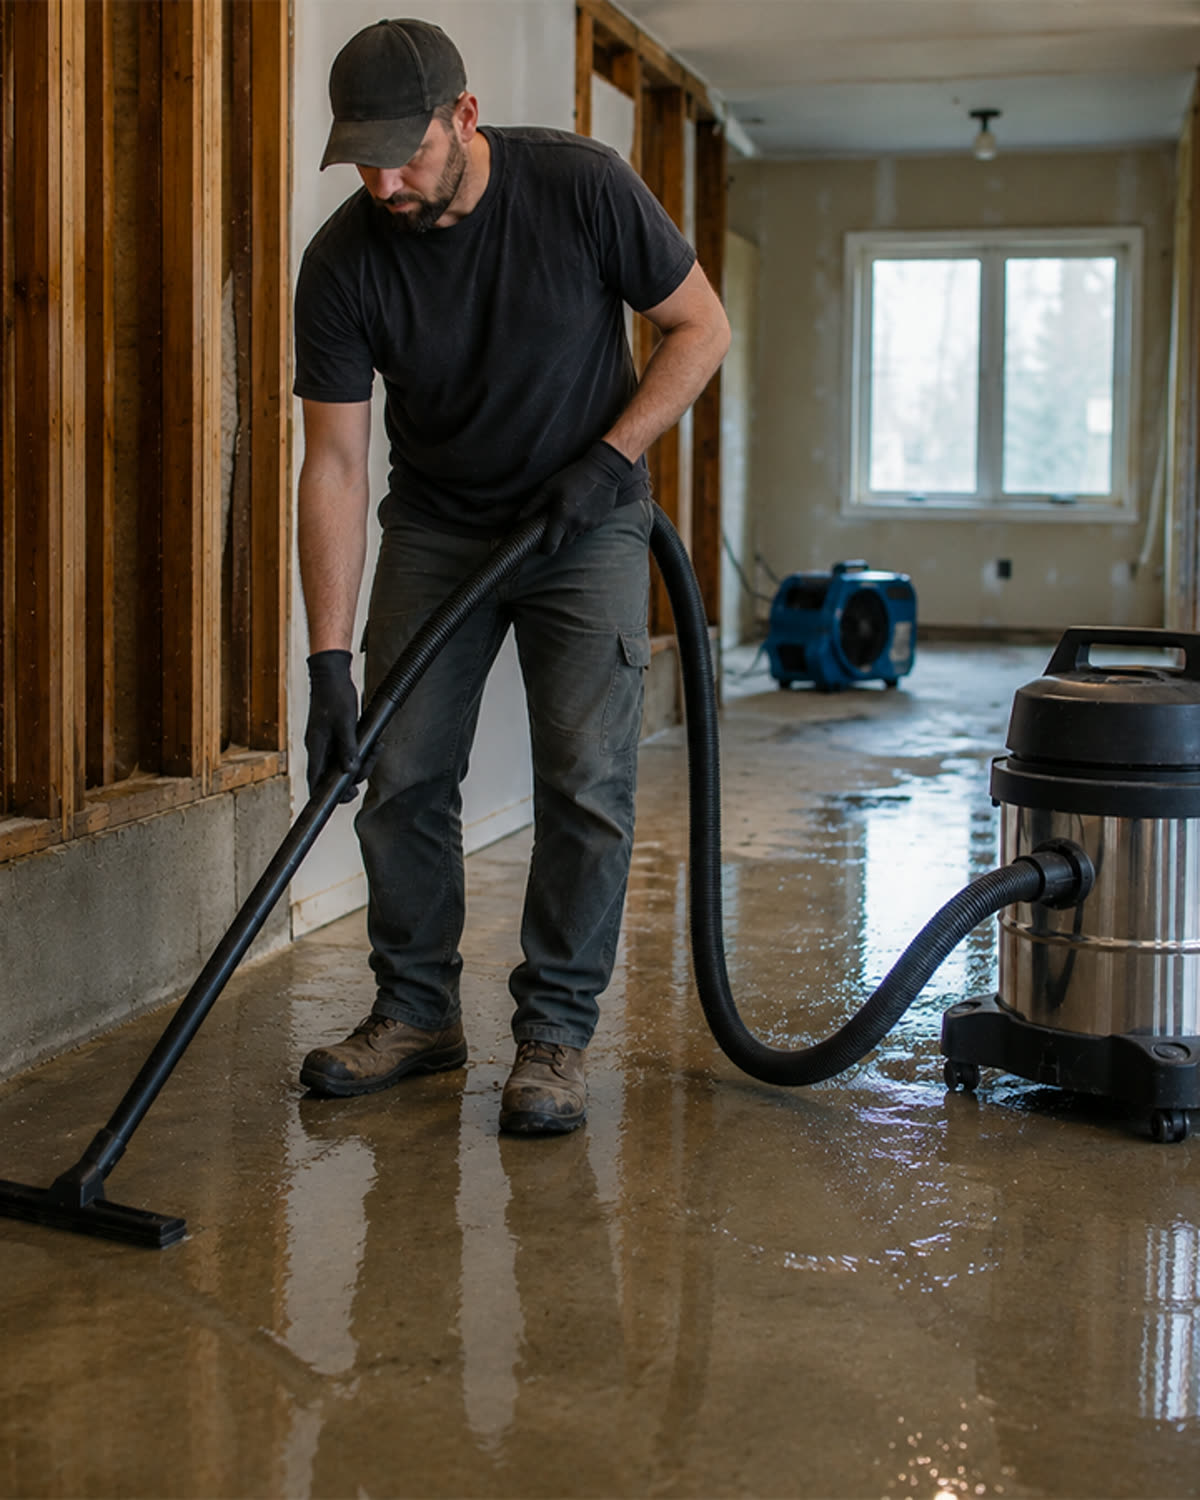
A vacuum can sound powerful while performing poorly.
Loud motor noise, strong hose pull, and high horsepower claims do not necessarily indicate useful airflow.
The vacuum must move enough air through:
- Attachment
- Hose
- Bag
- Filter
- Motor path
- Exhaust
Testing should identify where performance is being lost.
A practical diagnostic test does not require specialized laboratory equipment.
It requires comparing each stage of the system in a consistent order.
Quick Answer
To test shop vacuum performance:
- Empty the tank or collection system.
- Inspect the bag and filter.
- Turn on the vacuum.
- Check airflow at the open hose.
- Remove the hose and test at the inlet.
- Add the hose back.
- Add attachments one at a time.
- Listen for pitch changes.
- Check for air leaks.
- Compare performance before and after servicing the bag and filter.
For precise measurement, use instruments designed to measure:
- Airflow
- Static pressure
- Electrical current
- Temperature
Do not place hands or improvised objects where they could be drawn into the vacuum.
Suction Is Not One Measurement
Vacuum performance depends on two related forces:
Static Pressure
The ability to maintain pressure through restriction.
Often represented by water lift.
Airflow
The quantity of air moving through the system.
Often represented by CFM.
Useful Collection

=

Pressure

+

Airflow
A vacuum needs both.
The Working-Airflow Test™
The goal is to compare performance under the actual configuration.
Vacuum Inlet

↓

Hose

↓

Adapter

↓

Attachment

↓

Tool or Floor
Each added component should cause only the expected performance reduction.
A dramatic loss identifies a likely restriction.
Step 1: Establish a Clean Baseline
Before testing:
- Empty the tank.
- Empty or replace the bag.
- Clean or replace the filter when required.
- Clear the hose.
- Open the float.
- Inspect the exhaust.
- Confirm the vacuum is dry when testing dry performance.
This provides a reference condition.
Step 2: Listen to the Motor
A healthy vacuum generally has a stable sound.
Warning changes include:
- Higher pitch
- Pulsing
- Surging
- Grinding
- Rattling
- Sudden pitch increase when hose is open
A higher pitch often indicates restricted airflow.
Step 3: Test at the Vacuum Inlet
Remove the hose.
Turn the vacuum on briefly.
Evaluate:
- Air movement
- Sound
- Vibration
- Exhaust flow
Strong inlet airflow suggests the motor and internal air path are functioning reasonably well.
Weak inlet airflow suggests a restriction inside the vacuum or a motor problem.
Step 4: Add the Hose
Reconnect the hose without an attachment.
Compare performance.
A major decline suggests:
- Hose clog
- Collapsed hose
- Excessive length
- Damaged cuff
- Internal restriction
The Stage-Loss Method™
Strong at Vacuum Inlet

Weak at Hose End

=

Hose or Connection Problem
Step 5: Add the Attachment
Install the floor nozzle, crevice tool, or tool adapter.
A narrow attachment should reduce airflow.
But severe loss, whistling, or hose collapse may indicate:
- Blockage
- Excessively small opening
- Poor adapter
- Debris lodged in the tool
Step 6: Test the Collection Bag
Compare performance:
- Before servicing bag
- After emptying or replacing bag
A large improvement indicates bag restriction.
A bag can be restrictive while appearing physically empty.
Step 7: Test the Primary Filter
Compare performance after approved filter service.
If airflow returns substantially, filter loading was a major restriction.
If it does not, inspect other components.
Step 8: Check for Air Leaks
Listen and feel carefully around:
- Hose cuffs
- Tank rim
- Drain cap
- Filter gasket
- Bag collar
- Separator lid
- Accessory ports
Air entering through leaks does not contribute to pickup at the nozzle.
The Useful-Air Principle™
Total Air Moved by Motor

−

Leakage Air

=

Useful Air at Tool
A vacuum can move air while cleaning poorly because the air enters through the wrong location.
Step 9: Test Under Load
Performance should be evaluated while collecting the actual material.
Observe:
- Suction after five minutes
- Suction after half a bag
- Filter-cleaning frequency
- Motor temperature
- Dust at exhaust
- Pickup speed
First-minute performance is not enough.
The Maintained-Performance Test™
Start-of-Job Airflow

Compared With

Mid-Job Airflow

Compared With

End-of-Job Airflow
A strong professional system should decline gradually rather than collapse rapidly.
Simple Pickup Comparison
Use the same:
- Surface
- Material
- Attachment
- Hose
- Distance
- Time
Measure:
- Time required to collect material
- Number of passes
- Material left behind
- Performance after repeated cycles
This is not a laboratory test.
It can reveal practical changes after maintenance or configuration changes.
Restriction Diagnostic Table
| Test Result | Likely Area |
|---|---|
| Weak at vacuum inlet | Internal restriction or motor |
| Strong inlet, weak hose end | Hose |
| Strong open hose, weak attachment | Attachment or adapter |
| Improves after bag change | Bag restriction |
| Improves after filter service | Filter restriction |
| Whistles around lid | Seal leak |
| Pulses after wet pickup | Float or wet filter |
| Declines rapidly with fine dust | Inadequate pre-collection |
Temperature Check
A vacuum may naturally exhaust warm air.
Concerning signs include:
- Housing becoming unusually hot
- Burning smell
- Heat increasing rapidly
- Performance decline with heat
- Thermal shutdown
Restrictions reduce cooling airflow.
Stop if overheating is suspected.
Electrical Performance
Specialized testing may evaluate:
- Voltage
- Current draw
- Startup load
- Extension-cord voltage drop
Electrical testing should be performed safely with appropriate equipment and qualifications.
Instrumented Testing
Professional measurement may use:
Airflow Meter
Measures air volume.
Manometer
Measures static pressure.
Clamp Meter
Measures electrical current.
Temperature Probe
Tracks exhaust or housing temperature.
Instrument readings are most useful when compared under identical configurations.
The Comparative Measurement Rule™
Same Vacuum

+

Same Hose

+

Same Attachment

+

Same Test Method

=

Meaningful Comparison
Changing multiple variables prevents accurate diagnosis.
Testing Checklist
- Tank empty
- Bag serviced
- Filter inspected
- Float open
- Hose clear
- Attachments clear
- Inlet tested
- Hose added and retested
- Attachment added and retested
- Leaks checked
- Motor sound recorded
- Mid-job performance evaluated
- Temperature monitored
- Results documented
Common Mistakes
Testing Only by Covering the Hose
This measures pressure response more than working airflow and may stress the system.
Judging by Sound Alone
A restricted vacuum may sound louder or more powerful.
Changing Bag, Filter, and Hose at Once
The actual cause remains unknown.
Comparing Different Attachments
Different openings create different resistance.
Ignoring Dust Loading Over Time
A vacuum may test well while clean and fail during work.
Using Unsafe Improvised Instruments
Objects can be drawn into the hose.
Frequently Asked Questions
How can I tell whether my vacuum has lost suction?
Compare each airflow stage against a clean baseline and observe pickup time under the same conditions.
Is the hand-over-hose test accurate?
It provides limited information. It does not distinguish pressure from airflow.
Why does the hose pull strongly but debris remains?
The attachment may be too restrictive or the capture area may be poorly designed.
How do I know whether the bag or filter is clogged?
Service one component at a time and compare performance.
Can an air leak reduce suction?
Yes. The motor may draw air through the leak instead of the nozzle.
Should I test the vacuum when the bag is full?
Test both clean and working conditions to understand performance decline.
Key Takeaways
A proper vacuum test follows the airflow path:
- Inlet
- Hose
- Adapter
- Attachment
- Bag
- Filter
- Exhaust
Test one stage at a time.
The most useful performance measurement is not how hard the vacuum pulls against a blocked hose. It is how much useful air reaches the debris throughout the job.