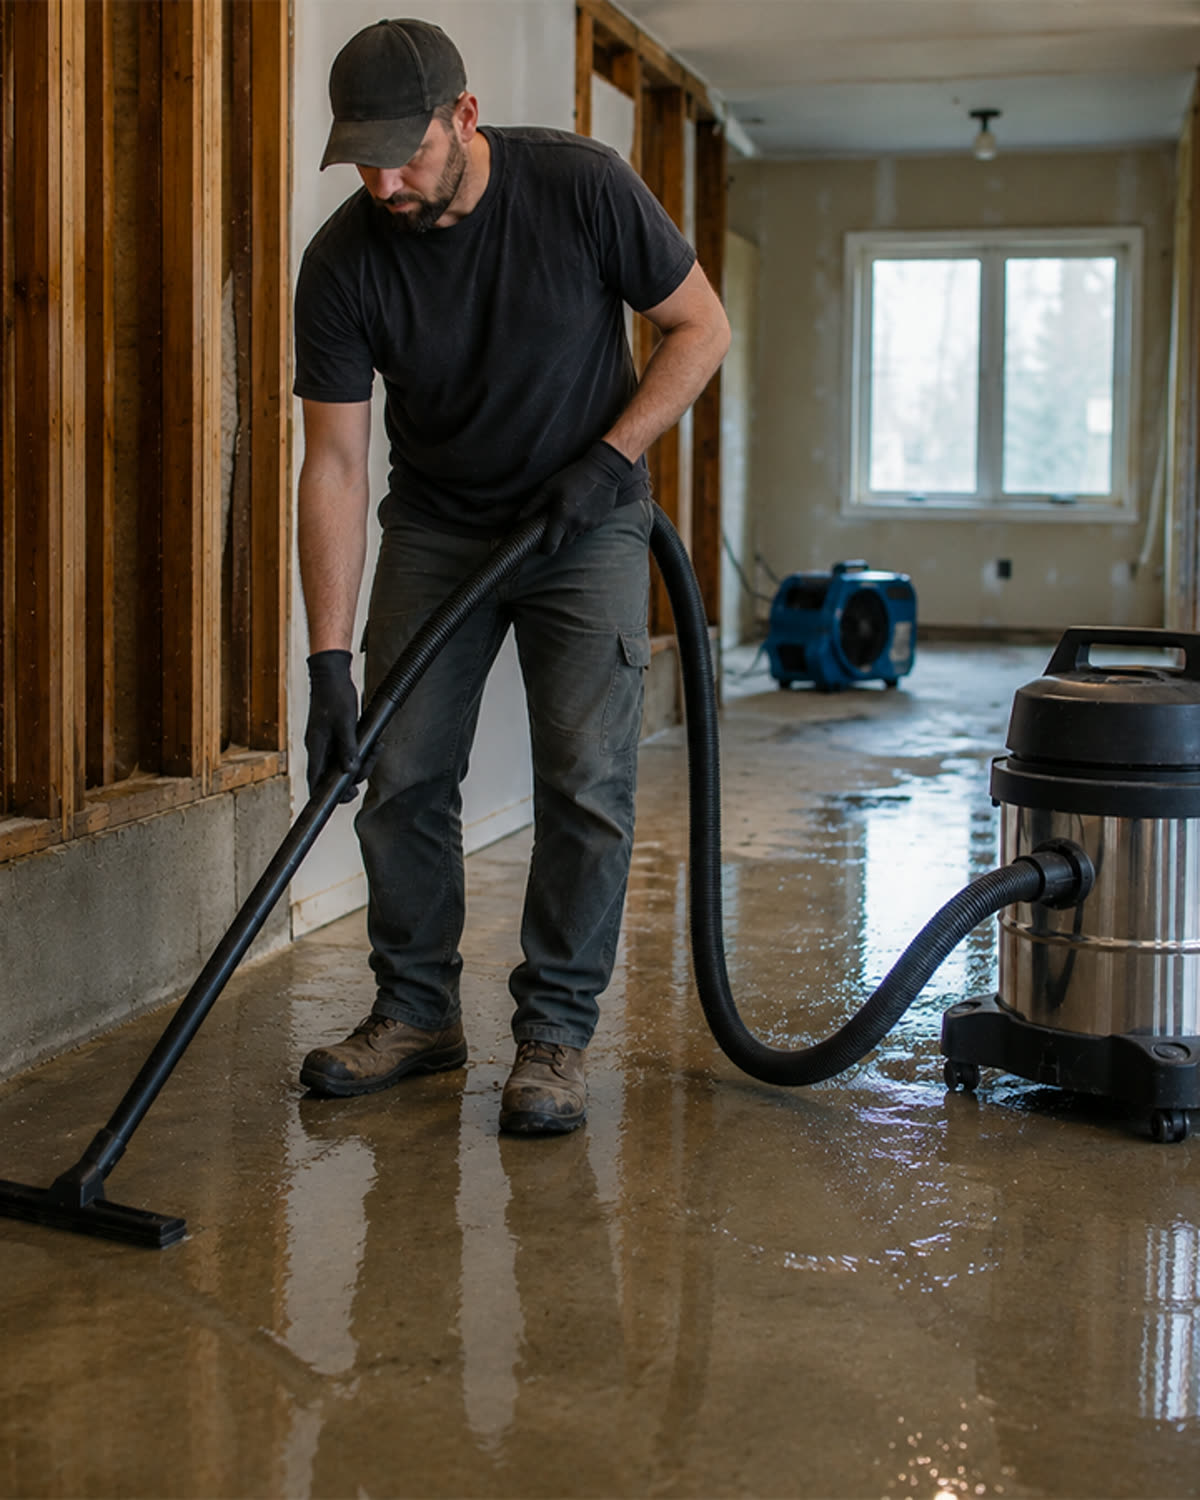
A wet/dry vacuum is designed to collect water.
That does not mean it should remain wet after the job.
Moisture trapped inside the vacuum can combine with:
- Pet hair
- Food particles
- Sawdust
- Carpet fibers
- Dirt
- Grooming residue
- Organic debris
- Contaminated water
The result may be:
- Musty odor
- Slime
- Mold growth
- Bacterial buildup
- Contaminated filters
- Persistent hose odor
- Poor air quality at the exhaust
The most effective prevention method is simple:
Remove the contamination, eliminate the moisture, and allow the entire airflow path to dry.
Quick Answer
To prevent mold inside a wet/dry vacuum:
- Empty liquid immediately after use.
- Remove organic debris.
- Clean the tank, hose, attachments, float, and drain.
- Inspect the filter and collection bag.
- Dry every component completely.
- Do not store the vacuum sealed while damp.
- Store it in a dry, ventilated location.
- Replace permanently contaminated porous components.
- Use only cleaning products approved for the equipment.
- inspect the vacuum before the next use.
Cleaning only the tank is not enough.
Moisture commonly remains inside the hose, filter, float cage, or drain recess.
Why Mold Develops Inside a Vacuum
Mold generally needs:
- Moisture
- Organic material
- Suitable temperature
- Time
A wet/dry vacuum can provide all four.
Water Remains

+

Organic Debris Remains

+

Vacuum Is Closed

+

Time Passes

=

Mold and Odor Risk
Removing either the moisture or the organic material interrupts the process.
Removing both provides stronger prevention.
The Moisture Containment Trap™
A closed vacuum tank slows evaporation.
Wet Tank Closed

↓

Moisture Cannot Escape

↓

Humidity Remains High

↓

Filter, Hose, and Debris Stay Damp

↓

Microbial Growth Develops
A vacuum that appears empty may still contain enough moisture to create a problem.
Where Mold Hides
Inspect more than the visible tank.
Potential growth areas include:
- Hose corrugations
- Filter pleats
- Foam sleeves
- Reusable bags
- Float cage
- Lid gasket
- Drain opening
- Crevice tools
- Floor nozzles
- Internal ledges
- Tank seams
The hose is one of the most frequently overlooked areas.
The Hidden-Hose Problem™
Water can remain in the low points of a coiled hose.
Organic debris becomes trapped with it.
The vacuum may smell clean when opened but release odor as soon as airflow begins.
Step 1: Empty the Vacuum Immediately
Do not allow dirty water to remain inside the tank overnight.
Collected water may contain:
- Soil
- Soap
- Hair
- Food
- Microorganisms
- Carpet residue
- Pet debris
- Construction material
The longer it remains, the more difficult the odor may be to remove.
Step 2: Remove Solid Debris
Before rinsing, remove:
- Hair
- Leaves
- Carpet fibers
- Food particles
- Mud
- Sawdust
- Packaging
- Construction fragments
Large debris can trap moisture against surfaces.
Step 3: Clean Approved Tank Surfaces
Use cleaning methods compatible with the vacuum and collected material.
Focus on:
- Tank walls
- Bottom recesses
- Inlet
- Drain
- Float area
- Lid gasket
Do not allow liquid to enter the motor housing or electrical components.
Step 4: Clean the Hose
When the hose is approved for rinsing:
- Disconnect it.
- Remove trapped debris.
- Rinse through the full length.
- Drain from both ends.
- Hang or position it so water can escape.
- Allow it to dry completely.
A hose stored in a tight coil may retain water.
Step 5: Inspect the Filter
A wet or moldy filter may contaminate the exhaust air.
Replace the filter when it is:
- Not washable
- Visibly moldy
- Permanently odorous
- Deformed
- Damaged
- Unable to dry completely
- Still restrictive after approved cleaning
Wash only filters specifically designed for washing.
Step 6: Inspect the Collection Bag
Disposable bags should be removed if they are:
- Damp
- Contaminated
- Odorous
- Torn
- Carrying organic debris
Reusable bags should be:
- Emptied
- Cleaned when approved
- Inspected
- Dried completely
- Stored appropriately
Do not reinstall a damp reusable bag.
Step 7: Clean the Float Mechanism
The float may collect:
- Hair
- Slime
- Mud
- Soap residue
- Fine debris
A contaminated float may:
- Smell
- Stick
- Fail to rise
- Prevent proper wet-pickup protection
Confirm that it moves freely after cleaning.
Step 8: Dry the Vacuum Completely
Drying should include:
- Tank
- Hose
- Filter
- Attachments
- Float cage
- Drain
- Reusable collection system
- Lid gasket
Drying time depends on temperature, humidity, airflow, and component design.
The correct standard is complete dryness—not a fixed number of hours.
The Complete Drying Standard™
A component is ready for storage when it is:
- Dry to the touch
- Free of hidden pooled water
- Free from musty odor
- Free from damp residue
- Ready for dry dust without creating mud
Step 9: Vent During Drying
When safe and consistent with manufacturer guidance:
- Leave the lid unlatched.
- Separate the hose.
- Open the drain.
- Remove damp filters.
- Position components for air circulation.
Once everything is dry, reassemble and protect the vacuum from contamination.
Step 10: Store in a Dry Location
Avoid storage areas with:
- High humidity
- Rain exposure
- Standing water
- Temperature extremes
- Poor ventilation
- Chemical fumes
- Freezing conditions
A clean vacuum stored in a damp environment can still develop odor.
The Mold Prevention Loop™
Empty

↓

Clean

↓

Inspect

↓

Dry

↓

Ventilate

↓

Store Properly

↓

Inspect Before Reuse
Skipping any step increases the chance of recurring contamination.
Can You Use Disinfectant?
Use only products compatible with:
- The collected material
- Tank plastic
- Hose
- Gaskets
- Filter components
- Manufacturer instructions
Some chemicals may:
- Damage plastic
- Degrade rubber
- Affect filter material
- Create harmful fumes
- Leave residue
Cleaning removes material.
Disinfection is an additional process when appropriate.
It does not replace cleaning and drying.
What to Do If Mold Is Already Present
- Stop using the vacuum in occupied areas.
- Unplug it.
- Identify contaminated components.
- Dispose of contaminated bags appropriately.
- Replace porous parts that cannot be cleaned reliably.
- Clean approved hard surfaces.
- Dry everything completely.
- inspect seals and airflow.
- Test for remaining odor before returning it to service.
Extensive contamination or hazardous material may require professional handling.
Components That May Require Replacement
- Paper filters
- Foam sleeves
- Disposable bags
- Permanently contaminated hoses
- Damaged reusable bags
- Odor-absorbing gaskets
- Cracked float components
Porous materials are more difficult to restore than hard tank surfaces.
Mold Prevention Checklist
- Liquid emptied immediately
- Organic debris removed
- Tank cleaned
- Hose cleaned
- Attachments cleaned
- Float inspected
- Drain cleared
- Filter inspected
- Damp bag removed
- All components completely dry
- Lid vented during drying
- Vacuum stored in dry location
- Odor checked before use
Common Mistakes
Cleaning Only the Tank
The hose or filter may still contain moisture.
Reinstalling a Damp Filter
The filter may develop odor and restrict airflow.
Closing the Lid Immediately
This traps humidity.
Leaving Dirty Water Overnight
Organic contamination can develop quickly.
Masking Odor With Fragrance
The contamination remains.
Storing in a Humid Vehicle
Heat and moisture accelerate odor development.
Frequently Asked Questions
Can mold grow inside a wet/dry vacuum?
Yes. Moisture and organic debris can create favorable conditions.
Why does the smell return after cleaning the tank?
Contamination may remain in the hose, filter, reusable bag, float cage, or attachments.
Can a moldy filter be washed?
Only if it is washable and can be restored completely. Permanently moldy or odorous filters should be replaced.
Should I leave the vacuum open after wet use?
Ventilation during drying can help when done safely and consistently with the manufacturer’s guidance.
Can bleach be used?
Only when approved for the materials and application. It may damage components or create hazardous fumes.
How can groomers prevent wet-dog odor?
Remove hair, clean the hose and tank, inspect the filter, and dry every component after wet cleanup.
Key Takeaways
Mold prevention depends on controlling two things:
- Contamination
- Moisture
Empty the vacuum immediately.
Clean the full airflow path.
Dry the tank, hose, filter, float, and attachments completely.
A wet/dry vacuum should collect water during the job—not store water between jobs.