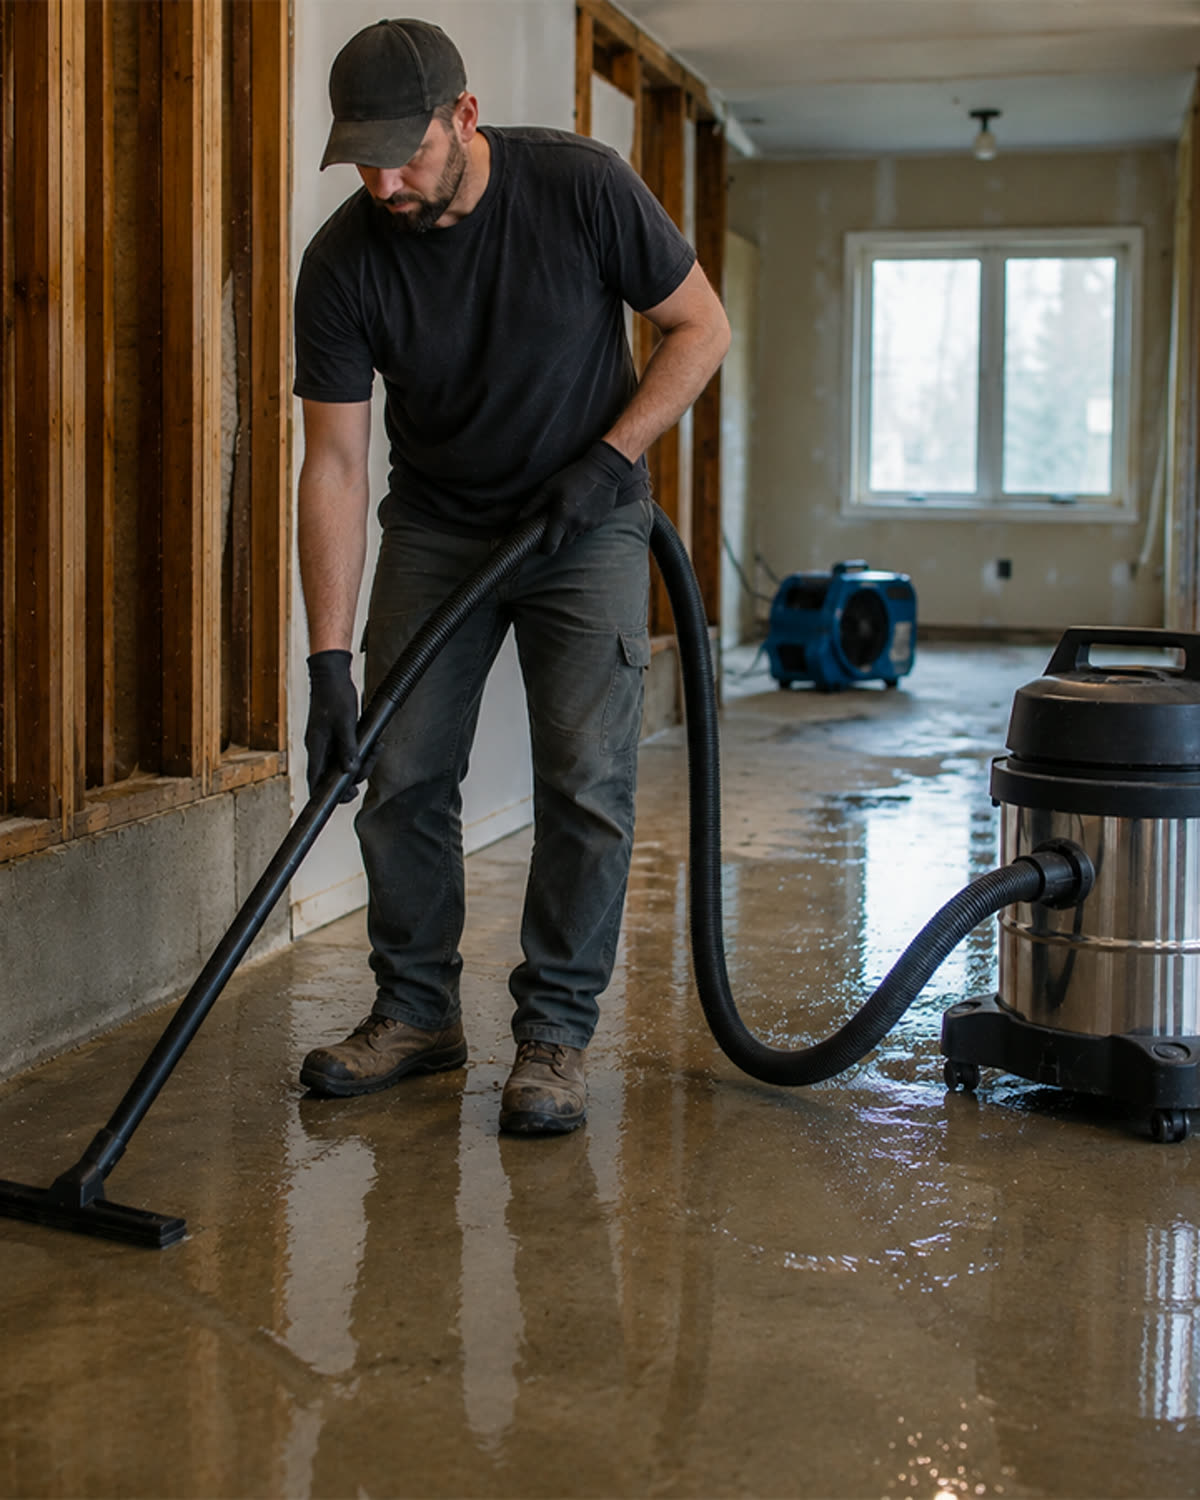
A wet/dry vacuum can perform two very different jobs.
During dry pickup, the system must filter dust.
During wet pickup, the system must collect liquid without allowing water to reach the motor.
Switching incorrectly can cause:
- Ruined collection bags
- Saturated filters
- Restricted airflow
- Mud inside the tank
- Float failure
- Motor damage
- Persistent odors
The conversion should be treated as a complete change in operating mode.
Quick Answer
To switch from dry to wet pickup:
- Turn off and unplug the vacuum.
- Remove all dry debris.
- Empty or remove the dry collection bag.
- Clean loose dust from the tank.
- Configure the filter exactly as the manufacturer specifies for wet use.
- Inspect and test the float.
- Check the tank seal and drain.
- Install a wet-pickup attachment.
- Reassemble the vacuum.
- Begin collecting liquid while monitoring tank level and sound.
Afterward, clean and dry the system before returning to dry pickup.
Step 1: Disconnect Power
Always turn the vacuum off and unplug it before opening the tank or changing filters.
Step 2: Remove Dry Debris
Empty:
- Loose tank debris
- Collection bag
- Reusable dry bag
- Cyclone material
- Dust around the inlet
Do not allow water to mix with residual:
- Drywall dust
- Concrete dust
- Cement powder
- Fine sawdust
- Ash
The Paste Formation Problem™
Fine Dry Dust

+

Water

=

Paste, Mud, or Hardened Residue
This material may coat:
- Tank walls
- Hose
- Float
- Drain
- Filter cage
Step 3: Remove the Dry Bag
Detach the bag carefully.
If it contains fine dust:
- Allow dust to settle.
- Seal the opening when possible.
- Avoid shaking.
- Store or dispose of it appropriately.
Do not leave a standard paper or fleece bag installed for water pickup.
Step 4: Clean the Tank
The tank does not need to look new.
It should be free from material likely to:
- Form mud
- Block the drain
- Jam the float
- Create contamination
- Damage wet components
Use manufacturer-approved cleaning methods.
Step 5: Change the Filter Configuration
This is the most model-specific step.
The vacuum may require:
- Removal of a dry cartridge filter
- Installation of a foam sleeve
- Installation of a wet-rated filter
- Retention of a specific filter
Check the instructions for the exact model.
Step 6: Inspect the Float
Move the float gently by hand when accessible and permitted.
It should:
- Move freely
- Return correctly
- Be free of dust and hair
- Have no visible damage
- Close the motor air path when raised
Do not operate the vacuum if the float is stuck.
Step 7: Check the Drain
Confirm the drain cap is:
- Present
- Undamaged
- Sealed
- Tightened correctly
A loose drain creates air leakage and may release liquid.
Step 8: Select a Wet Attachment
A wet floor nozzle or squeegee tool helps:
- Concentrate liquid
- Leave less surface water
- Improve pickup speed
- Prevent the hose from sealing completely to the floor
Step 9: Reassemble and Test
Before collecting a large spill:
- Reinstall the lid.
- Secure all latches.
- Confirm the hose connection.
- Turn the vacuum on.
- Test with a small amount of clean water.
- Listen for normal operation.
Stop if liquid appears at the exhaust.
Step 10: Monitor the Tank
Watch for:
- Sound changes
- Reduced pickup
- Foam
- Tank instability
- Excessive weight
- Float activation
Empty before the vacuum becomes difficult to move.
Switching Back to Dry Pickup
The return process is equally important.
- Unplug the vacuum.
- Drain or empty all liquid.
- Clean the tank.
- Clear the hose.
- Clean the float.
- Dry every approved component completely.
- Reinstall the correct dry filter.
- Install the dry collection bag or reusable system.
- Inspect seals.
- Test airflow.
The Dry-Return Rule™
Any Remaining Moisture

+

Fine Dry Dust

=

Clogging, Mud, and Odor
Do not reinstall a dry paper bag into a damp tank.
How Long Should the Vacuum Dry?
Drying time depends on:
- Temperature
- Humidity
- Air circulation
- Hose length
- Tank shape
- Filter material
The correct standard is not a fixed number of hours.
The system should be completely dry before fine dry dust is collected.
Components That Trap Water
Inspect:
- Hose corrugations
- Hose cuffs
- Crevice tools
- Float cage
- Drain recess
- Tank seams
- Filter mount
- Reusable bag column or internal support
- Accessory storage
Water may remain hidden even when the tank appears dry.
Fast Wet-to-Dry Workflow
For professional users who switch frequently:
- Keep separate dry and wet hoses.
- Keep separate filter sets.
- Label components.
- Store dry bags in sealed containers.
- Use a written changeover checklist.
- Consider separate vacuums for frequent wet and dry work.
Separate machines may reduce labor and contamination.
The Changeover Cost™
Frequent Reconfiguration

↓

Cleaning Time

↓

Drying Time

↓

Setup Errors

↓

Lost Productivity
When switching happens repeatedly, a dedicated wet vacuum may cost less than constant conversion.
Dry-to-Wet Checklist
- Vacuum unplugged
- Dry debris removed
- Dry bag removed
- Tank cleaned
- Drywall or concrete dust absent
- Filter configured for wet use
- Float moves freely
- Drain sealed
- Wet attachment installed
- Disposal location ready
- Tank weight considered
Wet-to-Dry Checklist
- Liquid removed
- Tank cleaned
- Hose drained
- Float cleaned
- Wet filter removed or reconfigured
- Components completely dry
- Dry filter installed
- Dry bag installed
- Seals inspected
- Airflow tested
Common Mistakes
Leaving Fine Dust Inside Before Adding Water
It becomes mud or paste.
Forgetting the Dry Bag
The bag may disintegrate or block airflow.
Assuming Every Vacuum Uses the Same Filter Setup
Wet configurations vary.
Failing to Inspect the Float
Dust may prevent proper movement.
Returning to Dry Use Too Soon
Residual moisture loads the dry system rapidly.
Storing Wet Components Inside the Closed Tank
This traps odor and moisture.
Frequently Asked Questions
Must I remove the dry filter for wet pickup?
It depends on the vacuum model.
Can I leave a reusable bag installed?
Only when the reusable system is specifically designed and configured for wet collection.
Why did the dry bag collapse?
Moisture or restricted airflow may have weakened or blocked it.
Why is the filter wet after switching?
The configuration may be incorrect, the tank may be overfilled, or foam may have reached the filter area.
Can I switch immediately back to drywall dust?
Only after the tank, hose, filter area, and collection system are completely dry.
Is it better to own separate wet and dry vacuums?
It may be more efficient for operations that switch frequently.
Key Takeaways
Switching to wet pickup requires more than removing the bag.
The complete process includes:
- Emptying dry debris
- Preventing dust-and-water paste
- Correctly configuring the filter
- Inspecting the float
- Monitoring liquid capacity
- Cleaning and drying the system afterward
Dry and wet pickup are two operating modes. Treat the change between them as a full system conversion.