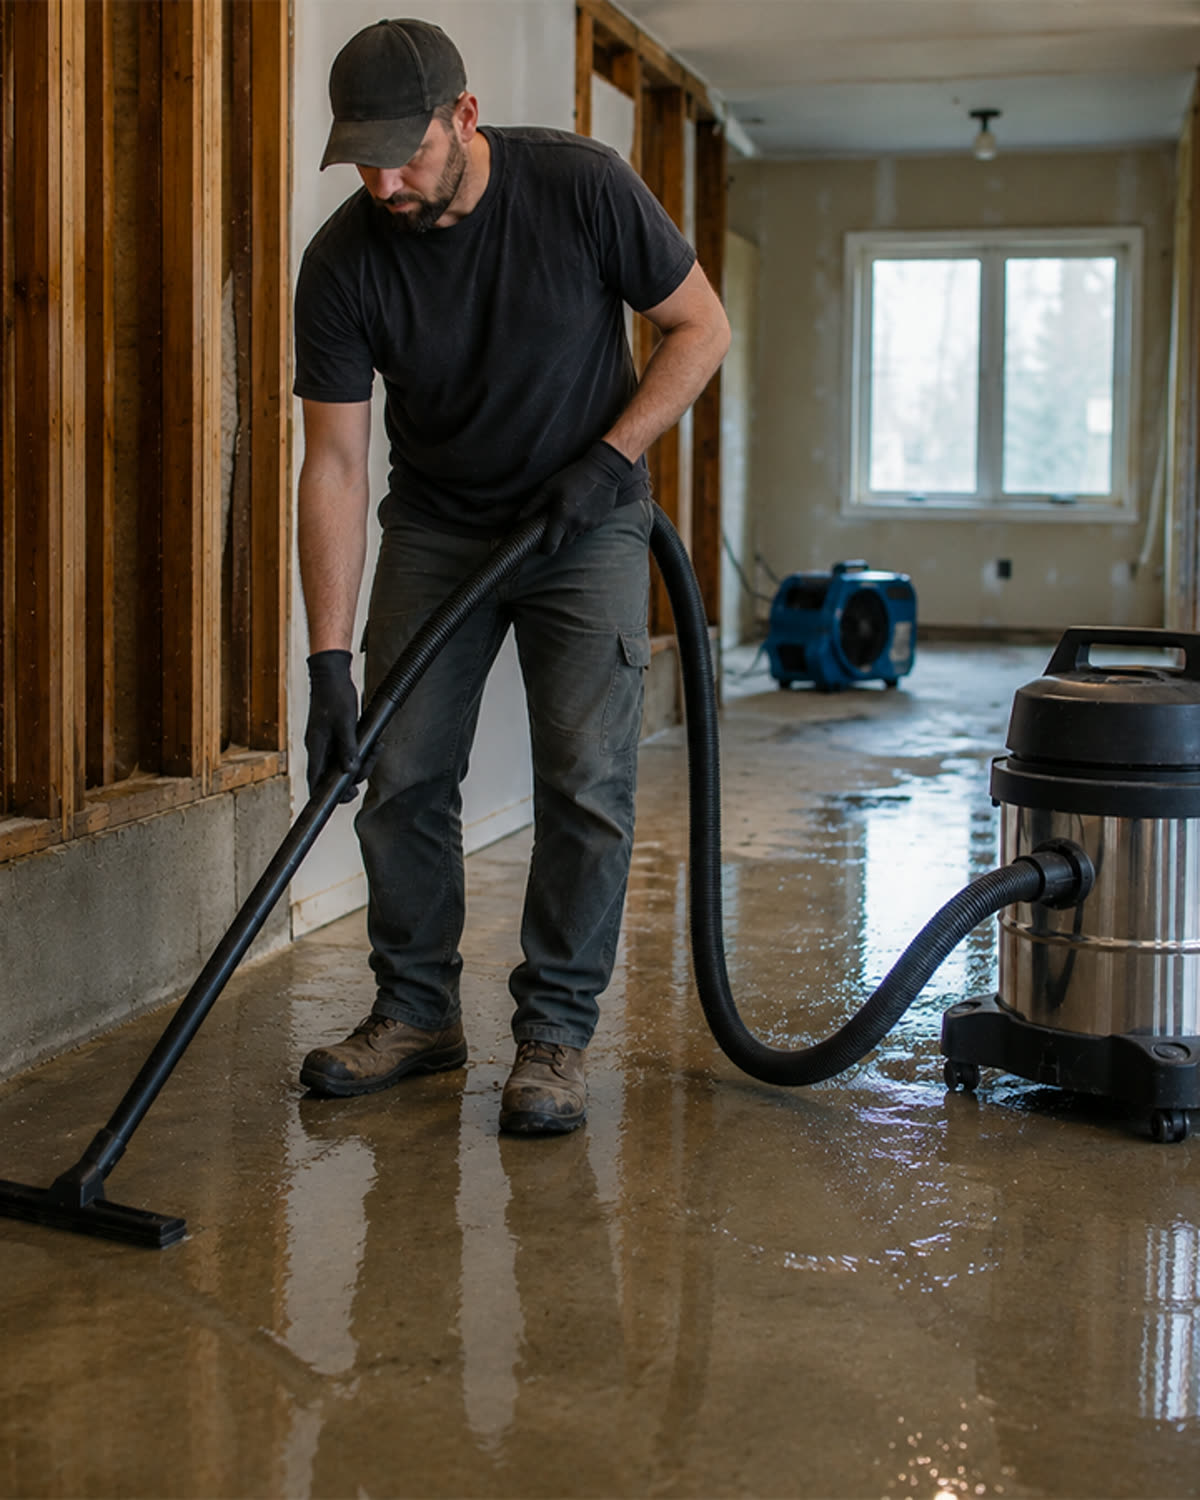
A wet/dry vacuum collects materials that ordinary vacuums are not designed to handle.
That may include:
- Drywall dust
- Sawdust
- Concrete residue
- Pet hair
- Mud
- Standing water
- Organic debris
- Construction waste
Those materials do not disappear when the vacuum is turned off.
They remain inside the:
- Tank
- Hose
- Filter
- Collection bag
- Float mechanism
- Attachments
- Drain
Without regular cleaning, the vacuum can develop:
- Weak suction
- Filter restriction
- Hose clogs
- Burning odors
- Musty smells
- Mold
- Dust from the exhaust
- Float failure
Cleaning should restore function without releasing captured dust or damaging the equipment.
Quick Answer
To clean a wet/dry vacuum:
- Turn it off and unplug it.
- Identify what was collected.
- Empty the tank or collection bag.
- Remove the filter according to manufacturer instructions.
- Clear the hose and attachments.
- Clean the tank using a method appropriate for the material.
- Inspect the float and motor inlet.
- Clean sealing surfaces.
- Dry all wet components completely.
- Reinstall the correct bag and filter configuration.
- Test airflow before the next job.
Do not wash filters, bags, motors, or electrical components unless the manufacturer specifically permits it.
The Vacuum Cleaning Sequence™
Clean the vacuum in the same order that material traveled through it.
Attachment

↓

Hose

↓

Inlet

↓

Bag or Tank

↓

Filter

↓

Float and Lid

↓

Exhaust Area
This helps prevent cleaned components from being contaminated again.
Step 1: Identify the Material
Before opening the vacuum, determine whether it contains:
- General dry debris
- Fine construction dust
- Wet debris
- Mud
- Organic material
- Potentially hazardous material
- Unknown material
The cleaning method must match the material.
Do not use ordinary cleaning procedures for dust requiring specialized containment or disposal.
Step 2: Disconnect Power
Turn off and unplug the vacuum before:
- Opening the tank
- Removing the filter
- Clearing the hose
- Cleaning the float
- Reaching near the motor inlet
Do not rely only on the power switch.
Step 3: Empty the Collection System
Disposable Bag
Remove slowly and seal when possible.
Reusable Bag
Empty using the manufacturer-approved method.
Open Tank
Transfer debris at low height to reduce dust turbulence.
Cyclone Bin
Allow dust to settle before opening.
Avoid:
- Shaking
- Compressed air
- Pouring from height
- Emptying into wind
Step 4: Clean the Hose
Hoses commonly hold:
- Hair
- Mud
- Drywall paste
- Wood chips
- Screws
- Damp residue
Inspect the hose by:
- Disconnecting both ends.
- Holding it as straight as practical.
- Looking through it when possible.
- Passing a soft, non-damaging tool through approved hoses.
- Rinsing only when the hose is suitable for washing.
- Drying it completely before dry-dust use.
Do not use sharp rods that can puncture the hose.
The Hidden Hose Problem™
A tank may be clean while the hose still contains contamination.
Wet Hose

+

Dry Fine Dust

=

Paste and Clogging
Hose condition affects the next job immediately.
Step 5: Clean the Tank
After General Dry Debris
- Remove loose material.
- Vacuum or wipe residual debris.
- Clean the inlet area.
- Inspect the drain and seal.
After Fine Dust
- Avoid dry sweeping or compressed air.
- Use controlled vacuuming or approved wiping.
- Do not create a dust cloud trying to make the tank look new.
After Water
- Drain the tank.
- Rinse approved surfaces when necessary.
- Remove residue.
- Dry completely.
After Mud
- Remove thick material before it dries.
- Clear the drain.
- Rinse only when compatible.
- Inspect corners and internal ledges.
Step 6: Inspect the Filter
Check for:
- Heavy dust loading
- Tears
- Deformed pleats
- Loose end caps
- Wet media
- Mold
- Odor
- Damaged gasket
- Permanent restriction
Clean the filter only using an approved method.
Replace it when cleaning no longer restores airflow or when the media is damaged.
Step 7: Inspect the Float
The float protects the motor during liquid pickup.
Check that it:
- Moves freely
- Is not coated in mud
- Is free from hair
- Is correctly installed
- Has no cracks
- Can close the motor air path
A dirty float may fail when the tank fills.
Step 8: Clean Sealing Surfaces
Fine debris around seals can cause air leaks.
Clean:
- Lid gasket
- Tank rim
- Filter gasket
- Drain cap
- Hose cuffs
- Bag collar
- Accessory ports
Even a small leak reduces useful suction.
Step 9: Dry the Vacuum
Drying is required after:
- Water pickup
- Hose rinsing
- Tank washing
- Wet filter cleaning
- Mud cleanup
Moisture may remain inside:
- Hose corrugations
- Float cage
- Drain recess
- Filter pleats
- Tank seams
- Attachments
Do not close a damp vacuum for storage.
The Dry-Before-Dust Rule™
Residual Moisture

+

Fine Dry Dust

=

Mud, Odor, and Permanent Restriction
The tank, hose, filter area, and collection system should be completely dry before drywall, concrete, or sanding dust is collected.
Step 10: Reassemble Correctly
Before returning the vacuum to service:
- Install the correct filter.
- Install the bag or reusable collection system.
- Confirm the float is unobstructed.
- Secure the lid.
- Tighten the drain.
- Reconnect the hose.
- Check all latches.
Step 11: Test Airflow
Turn the vacuum on briefly.
Check for:
- Normal sound
- Strong airflow
- No dust at exhaust
- No air leaks
- No rattling
- No musty odor
- No hose blockage
Stop immediately if performance is abnormal.
Cleaning Frequency
After Every Wet Job
- Empty
- Rinse when appropriate
- Inspect float
- Dry completely
After Fine-Dust Jobs
- Inspect bag
- Inspect filter
- Clean seals
- Check hose
- Verify airflow
Weekly Professional Inspection
- Cord
- Hose
- Filter
- Float
- Wheels
- Drain
- Seals
- Attachments
Monthly Deep Cleaning
Frequency depends on workload, material, and vacuum design.
Cleaning Checklist
- Vacuum unplugged
- Material identified
- Waste contained
- Tank emptied
- Hose inspected
- Attachments cleared
- Filter inspected
- Float moves freely
- Drain clear
- Lid seal clean
- Tank rim clean
- Wet components dry
- Correct filter installed
- Correct bag installed
- Airflow tested
Common Mistakes
Using Compressed Air
This spreads dust and may damage filters.
Washing a Non-Washable Filter
The media may weaken or deform.
Closing the Tank While Damp
This encourages odor and microbial growth.
Ignoring the Hose
Hidden clogs remain after the tank is cleaned.
Using Harsh Chemicals
Chemicals may damage seals, filters, plastic, or coatings.
Reassembling Before Components Dry
Moisture can destroy dry bags and clog fine-dust filters.
Frequently Asked Questions
Can I hose out a wet/dry vacuum?
The tank and approved components may be rinsed, but electrical and motor components must remain dry. Follow the manufacturer’s instructions.
Can I wash the filter?
Only when the filter is specifically washable.
How do I clean drywall dust from the tank?
Use controlled vacuuming or approved wiping. Avoid compressed air and dry sweeping.
How do I remove mud?
Remove it before it hardens, clear the drain, and wash approved surfaces.
Why does the vacuum still smell after cleaning?
Moisture or residue may remain in the hose, filter, float cage, or attachments.
Should I disinfect the tank?
Only use products compatible with the vacuum and collected material. Rinse and dry when required.
Key Takeaways
A complete cleaning includes more than emptying the tank.
Inspect and clean:
- Collection system
- Hose
- Filter
- Float
- Drain
- Seals
- Attachments
Then dry the entire system before dry fine-dust use.
A clean wet/dry vacuum should have an open airflow path, a functional float, intact filtration, and no trapped moisture.