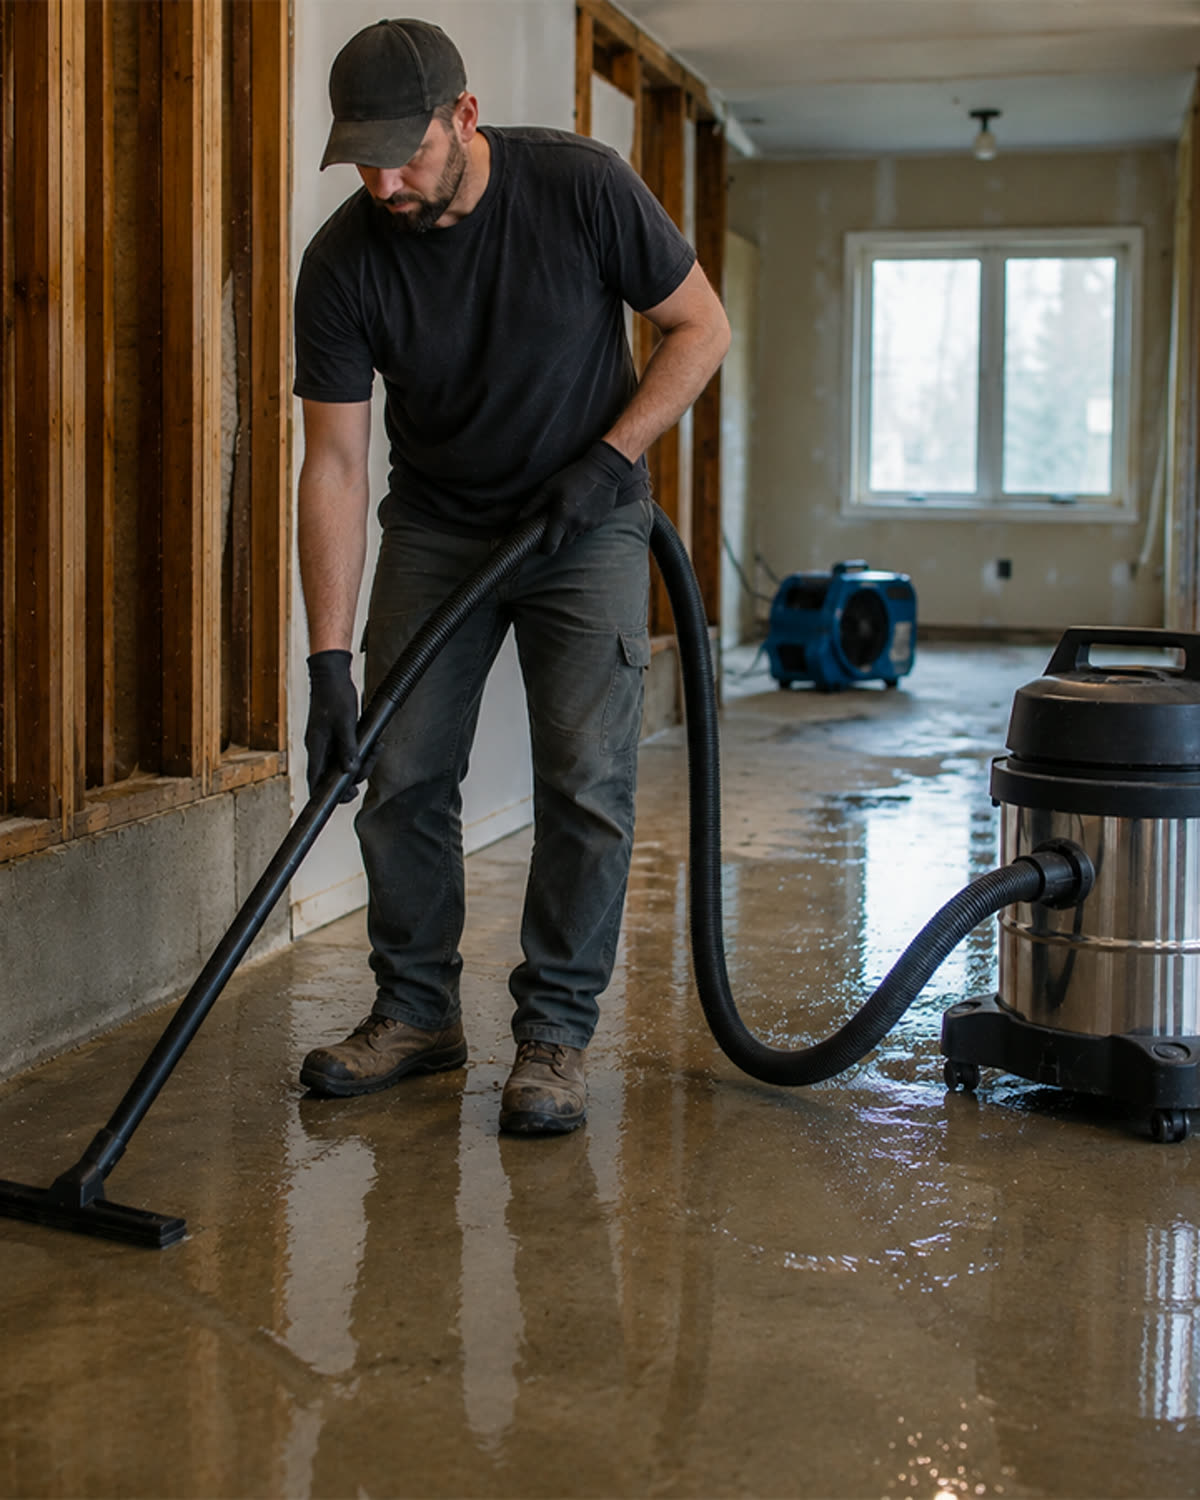
A shop vacuum can be cleaned correctly and still be damaged during storage.
Common storage problems include:
- Wet tank closed with the lid attached
- Damp hose coiled tightly
- Dirty filter left installed
- Power cord wrapped under tension
- Heavy attachments hanging from hose cuffs
- Vacuum stored in freezing temperatures
- Dust bag left full
- Equipment placed where it can tip
Storage affects:
- Odor
- Mold
- Filter life
- Hose condition
- Seal condition
- Motor reliability
- Readiness for the next job
Quick Answer
Before storing a shop vacuum:
- Empty the collection system.
- Clean material appropriate to the last job.
- Inspect the filter.
- Dry the tank, hose, and attachments completely.
- Leave airflow inside the tank when appropriate.
- Coil the hose loosely.
- Wrap the cord without stretching it.
- Store attachments securely.
- Protect the vacuum from moisture, extreme heat, and freezing.
- Keep replacement bags and filters dry.
- Inspect the vacuum before returning it to service.
Never seal a damp wet/dry vacuum for long-term storage.
The Storage Readiness Test™
A vacuum is ready for storage when it is:
Empty

+

Clean Enough for Next Use

+

Completely Dry

+

Correctly Configured

+

Protected From Damage
Storage should preserve readiness—not postpone maintenance.
Step 1: Empty the Vacuum
Do not store it with:
- Wet debris
- Organic material
- Full disposable bag
- Mud
- Standing water
- Fine dust approaching the inlet
Stored material can create:
- Odor
- Moisture
- Corrosion
- Bag stress
- Pest attraction
- Filter loading
Step 2: Inspect the Filter
Before storage, check for:
- Dampness
- Heavy dust
- Tears
- Odor
- Deformation
- Loose gasket
A damp filter should be removed and dried or replaced according to its instructions.
Step 3: Dry the Airflow Path
Dry:
- Tank
- Hose
- Attachments
- Filter area
- Float cage
- Drain
- Reusable collection system
Water may remain in hose valleys and tank recesses.
The Closed-Moisture Cycle™
Damp Vacuum Closed

↓

Moisture Cannot Escape

↓

Odor and Microbial Growth

↓

Filter and Bag Contamination

↓

Poor Next-Job Performance
Air circulation breaks this cycle.
Step 4: Store the Lid Appropriately
For a recently washed or wet-used vacuum, it may be helpful to leave the lid unlatched or positioned to permit drying when safe and consistent with manufacturer guidance.
Once completely dry, secure the vacuum to prevent:
- Dust entry
- Pest entry
- Lost components
- Accidental tipping
Step 5: Coil the Hose Loosely
Avoid:
- Tight knots
- Sharp bends
- Crushing
- Hanging heavy attachments from the cuff
- Storing under other equipment
A kinked hose increases resistance and may crack over time.
The Hose Memory Effect™
Hose Stored With Tight Bend

↓

Material Takes Set

↓

Permanent Restriction or Kink

↓

Reduced Airflow
Large relaxed loops help preserve the hose shape.
Step 6: Store the Cord Without Tension
Wrap the power cord in wide loops.
Do not:
- Pull it tightly around the vacuum
- Bend it sharply near the plug
- Wrap it while hot
- Trap it under wheels
- Use the cord to move the machine
Inspect for cracking before the next use.
Step 7: Secure Attachments
Attachments should be:
- Clean
- Dry
- Supported
- Easy to locate
- Protected from impact
Do not store wet tools inside a sealed dry tank.
Step 8: Choose the Right Location
The storage area should be:
- Dry
- Stable
- Protected from rain
- Away from direct heat
- Away from corrosive chemicals
- Protected from freezing when moisture remains
- Clear of vehicle traffic
- Large enough to avoid hose crushing
Temperature Risks
Excessive Heat
May affect:
- Plastic
- Hose
- Seals
- Adhesives
- Filter media
Freezing
Residual water may expand inside:
- Hose
- Drain
- Float mechanism
- Tank recesses
This can crack or deform components.
Step 9: Store Bags and Filters Correctly
Replacement consumables should remain:
- Dry
- Clean
- Flat or properly shaped
- Protected from pests
- Away from chemicals
- Labeled by vacuum model
A damp paper bag may fail immediately when installed.
Step 10: Prepare for Transport
For a contractor vehicle:
- Secure the vacuum upright.
- Prevent it from rolling.
- Protect the filter from impact.
- Store hose and cord safely.
- Keep bags dry.
- Avoid stacking heavy tools on the lid.
- Cap or secure loose hose ends when appropriate.
Storage by Last Use
After Fine-Dust Cleanup
- Empty bag or tank.
- Inspect filter.
- Clean seals.
- Store dry.
After Water Pickup
- Drain.
- Clean.
- Dry completely.
- Inspect float.
- Prevent freezing.
After Mud
- Clean before drying.
- Clear drain and hose.
- Dry all components.
After Organic Debris
- Remove residue.
- Clean hose and tank.
- Prevent odor development.
Short-Term vs. Long-Term Storage
Short-Term Daily Storage
Focus on:
- Emptying
- Airflow inspection
- Drying
- Cord and hose organization
Long-Term Storage
Also:
- Remove perishable or damp consumables
- Inspect seals
- Protect from pests
- Store in controlled conditions
- Label maintenance needs
- Test before reuse
Shop Vacuum Storage Checklist
- Tank emptied
- Bag removed or below capacity
- Filter inspected
- Tank dry
- Hose dry
- Float area dry
- Drain clear
- Lid appropriately vented during drying
- Hose loosely coiled
- Cord loosely wrapped
- Attachments secured
- Vacuum upright
- Wheels blocked or secured
- Area dry
- Freezing risk controlled
- Spare bags and filters protected
Common Mistakes
Storing a Damp Vacuum Closed
This creates odor and mold.
Leaving Dirty Water in the Tank
Contamination worsens over time.
Coiling the Hose Too Tightly
Permanent kinks may form.
Wrapping the Cord Under Tension
The plug and insulation may be damaged.
Storing Filters in a Damp Tank
Media can develop odor or lose integrity.
Leaving the Vacuum Loose in a Vehicle
Repeated impact damages latches, wheels, and filter mounts.
Storing in Freezing Conditions With Water Inside
Components may crack.
Frequently Asked Questions
Should the lid remain off during storage?
During drying, airflow may help. Once the vacuum is completely dry, store it securely according to manufacturer guidance.
Can I leave a disposable bag installed?
A clean, dry, partially used bag may remain installed when appropriate. Do not store wet, contaminated, damaged, or overfilled bags.
Should I remove the filter?
Remove it for cleaning or drying when required. Store it protected from damage.
Can I store the vacuum outside?
Only when the manufacturer permits it and the machine is protected from weather, moisture, temperature extremes, and pests.
Why does the hose kink in storage?
Tight bends, heavy attachments, crushing, and heat can create permanent deformation.
How should a vacuum be secured in a work vehicle?
Keep it upright and prevent rolling, impact, hose crushing, and cord damage.
Key Takeaways
Proper storage prevents:
- Mold
- Odor
- Hose damage
- Filter contamination
- Cord failure
- Frozen components
- Lost attachments
The most important rule is:
Never place a wet, dirty vacuum into closed storage and expect it to be ready for the next job.
Empty it, dry it, inspect it, and protect the airflow path.