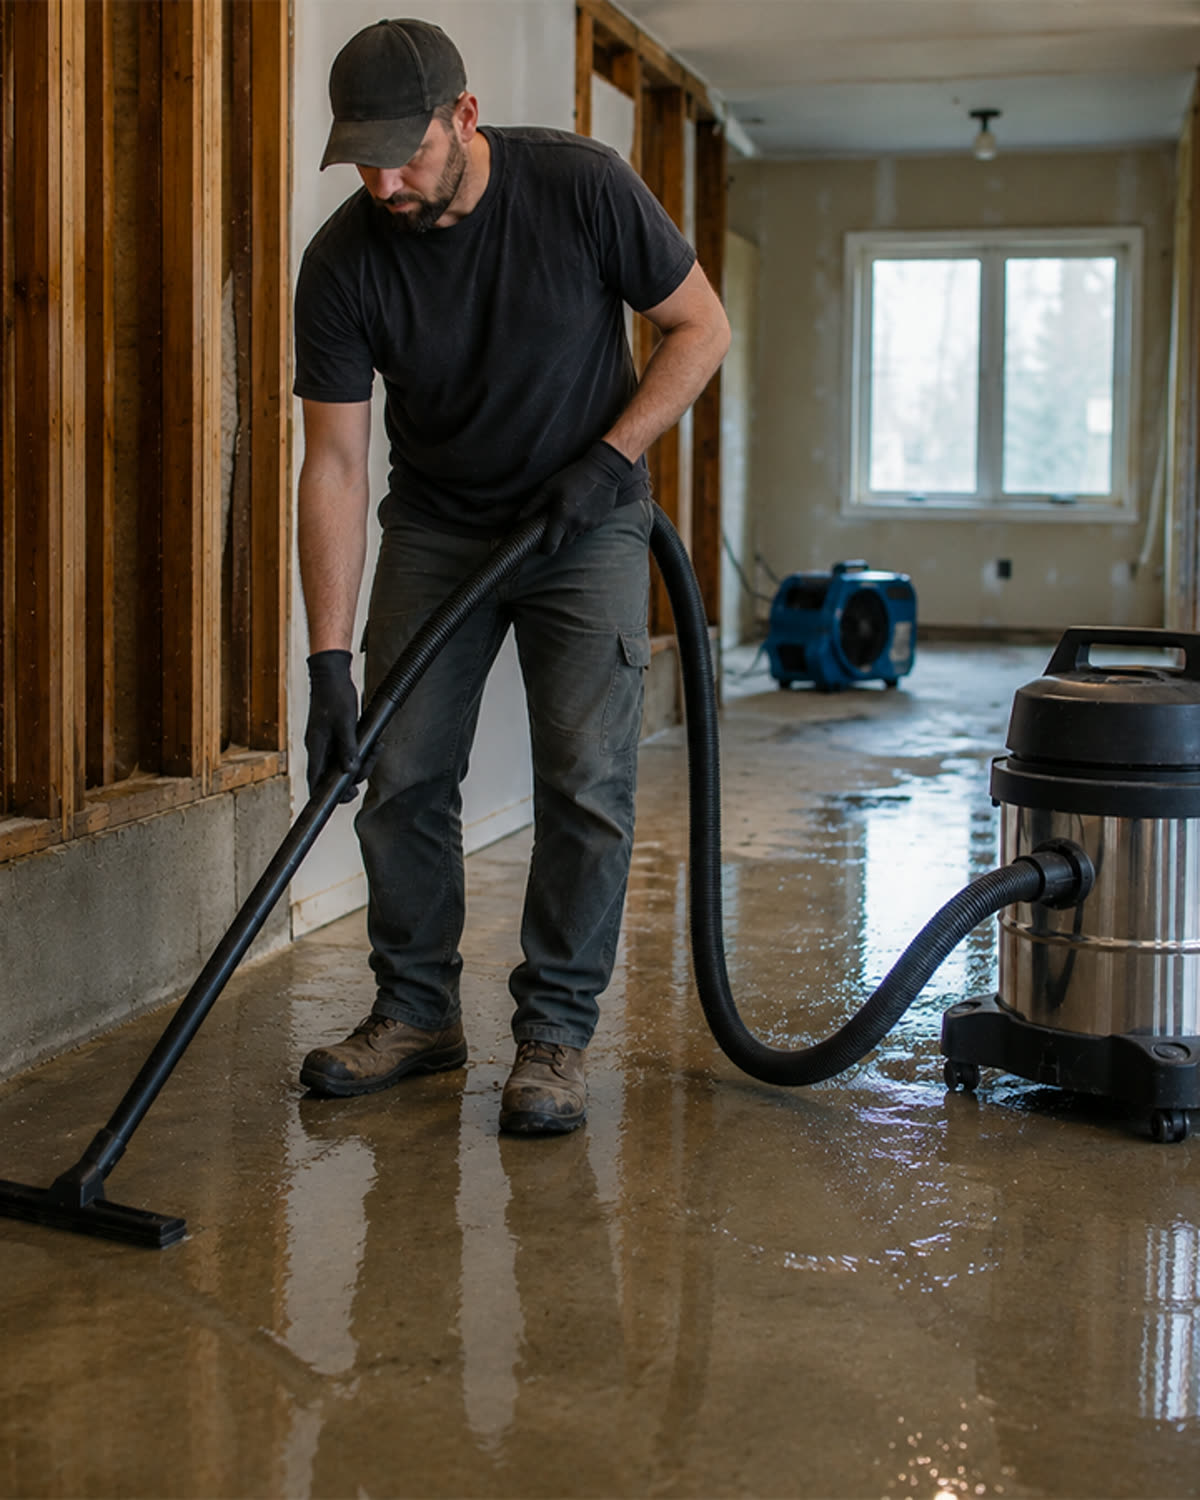
A shop vacuum often fails during a job because a small problem was present before the machine was turned on.
Examples include:
- Bag installed incorrectly
- Filter already loaded
- Hose partially clogged
- Float stuck
- Tank still wet
- Cord damaged
- Drain cap loose
- Replacement bags missing
- Wrong attachment installed
A brief inspection can prevent:
- Lost suction
- Dust release
- Bag failure
- Motor overheating
- Electrical trips
- Water damage
- Jobsite downtime
The inspection should match the material being collected.
Quick Answer
Before using a contractor shop vacuum, inspect:
- Power cord and plug
- Extension cord
- Tank and lid
- Hose and cuffs
- Attachments
- Collection bag
- Primary filter
- Float and wet configuration
- Drain cap
- Wheels and handles
- Exhaust and cooling vents
- Replacement supplies
- Disposal plan
- Initial airflow
Do not use equipment with electrical damage, smoke, sparks, melted components, or unresolved liquid intrusion.
The Four Conditions of Vacuum Readiness™
A vacuum is ready when it is:
Electrically Safe

+

Mechanically Intact

+

Correctly Configured

+

Able to Maintain Airflow
All four are required.
1. Power Cord and Plug
Inspect for:
- Cuts
- Cracked insulation
- Exposed wire
- Bent prongs
- Burn marks
- Loose plug
- Improvised repairs
- Heat damage
Remove damaged equipment from service.
2. Extension Cord
Confirm:
- Suitable wire size
- Appropriate length
- Environmental rating
- Secure connections
- No overheating
- No cuts or crushing
- Fully uncoiled when required
An inadequate cord may reduce motor performance and create heat.
3. Tank
Check for:
- Cracks
- Holes
- Residual water
- Mud
- Fine dust
- Sharp debris
- Chemical residue
- Odor
The tank should be appropriate for the next material.
4. Lid and Tank Seal
Inspect:
- Gasket
- Rim
- Latches
- Alignment
- Pinched bag material
- Dust buildup
A leaking lid reduces useful suction.
5. Hose
Inspect:
- Cuffs
- Punctures
- Kinks
- Soft sections
- Internal clogs
- Crushed areas
- Correct diameter
A partial clog may not become obvious until debris volume increases.
6. Attachment
Confirm the attachment is appropriate for:
- Particle size
- Surface
- Wet or dry use
- Tool port
- Finished flooring
Check for existing blockages.
7. Collection Bag
Inspect:
- Correct model
- Correct material
- Collar seating
- Seams
- Closure
- Fill level
- Moisture
- Position inside tank
A bag should remain clear of the inlet, filter cage, float, and lid seal.
8. Primary Filter
Check for:
- Correct filter type
- Proper installation
- Gasket seal
- Dust loading
- Tears
- Wet media
- Deformed pleats
- Odor
Do not run fine dust through a damaged or damp filter.
9. Float
For wet/dry vacuums, confirm the float:
- Moves freely
- Is free from mud
- Is free from hair
- Is correctly installed
- Is not obstructed by the bag
10. Drain Cap
Confirm the cap is:
- Present
- Tight
- Undamaged
- Clean
- Properly sealed
A loose drain reduces suction and may leak liquid.
11. Exhaust and Cooling Vents
Check that vents are not blocked by:
- Dust
- Plastic
- Stored accessories
- Walls
- Clothing
- Debris
Cooling airflow protects the motor.
12. Wheels and Handles
Inspect:
- Casters
- Axles
- Carry handle
- Stability
- Brakes when present
- Loose hardware
The vacuum should not tip when the hose is pulled.
13. Replacement Supplies
Before beginning, confirm availability of:
- Bags
- Filters
- Hose adapters
- Wet-use filter
- Disposal liners
- Replacement cuffs
- Appropriate protective equipment
Running out of supplies often leads to improper bagless operation.
14. Disposal Plan
Determine:
- Where the waste will go
- Whether it must remain sealed
- How the bag will be removed
- Whether the vacuum must travel through occupied areas
- Whether a reusable system can be emptied appropriately
Disposal should not be improvised after the tank is full.
15. Startup Test
Run the vacuum briefly before collecting material.
Check for:
- Normal sound
- Strong airflow
- No dust from exhaust
- No leaks
- No rattling
- No burning odor
- No pulsing
- No breaker trip
Stop immediately if operation appears abnormal.
The 60-Second Inspection™
Electrical
- Cord
- Plug
- Extension
Airflow
- Hose
- Attachment
- Bag
- Filter
Structure
- Tank
- Lid
- Wheels
- Drain
Configuration
- Wet or dry setup
- Float
- Correct accessories
A consistent one-minute inspection may prevent much longer downtime.
Dry Fine-Dust Checklist
- Tank completely dry
- Hose completely dry
- Fine-dust bag installed
- Primary filter appropriate
- Filter seal intact
- Sharp debris removed
- Disposal method prepared
- Exhaust clean
Wet-Pickup Checklist
- Vacuum approved for liquid
- Dry bag removed when required
- Wet filter configured correctly
- Float moves freely
- Drain cap tight
- Tank empty
- Electrical area dry
- Liquid disposal planned
- Full weight considered
Tool-Extraction Checklist
- Tool port adapter secure
- Hose diameter appropriate
- Hose length minimized
- Tool shroud intact
- Filter cleaning functional
- Bag has capacity
- Power requirements confirmed
- Combined electrical load acceptable
Post-Use Inspection
After work:
- Empty or service the collection system.
- Inspect the filter.
- Clear the hose.
- Check for damage.
- Clean wet components.
- Dry completely.
- Record repairs needed.
- Restock bags and filters.
- Store correctly.
Pre-use readiness begins with post-use maintenance.
The Readiness Loop™
Inspect Before Use

↓

Operate Correctly

↓

Service After Use

↓

Store Properly

↓

Ready for Next Job
Contractor Inspection Form
| Component | Condition | Action Required |
|---|---|---|
| Cord and plug | Pass / Fail | |
| Extension cord | Pass / Fail | |
| Tank | Pass / Fail | |
| Lid seal | Pass / Fail | |
| Hose | Pass / Fail | |
| Attachment | Pass / Fail | |
| Bag | Pass / Fail | |
| Filter | Pass / Fail | |
| Float | Pass / Fail | |
| Drain | Pass / Fail | |
| Wheels and handle | Pass / Fail | |
| Exhaust vents | Pass / Fail | |
| Startup airflow | Pass / Fail | |
| Supplies stocked | Pass / Fail |
Remove From Service When
Do not use the vacuum when it has:
- Exposed wiring
- Burning odor
- Smoke
- Sparks
- Melted housing
- Repeated breaker trips
- Liquid at exhaust
- Severe motor grinding
- Damaged tank around electrical components
- Missing required filter
- Unresolved motor overheating
Common Mistakes
Inspecting Only When Performance Declines
Damage may already have affected the job.
Checking the Filter but Not the Bag
Both can restrict airflow.
Ignoring Residual Moisture
Fine dust may form paste.
Beginning Without Replacement Supplies
The crew may use an improper configuration.
Ignoring Disposal
A full vacuum becomes a handling problem.
Assuming Yesterday’s Configuration Is Correct
The next material may require a different setup.
Frequently Asked Questions
How often should contractors inspect a shop vacuum?
Perform a brief inspection before each use and a deeper inspection according to workload and manufacturer guidance.
Should the filter be cleaned before every job?
Not necessarily. Inspect it and service it when loading or performance requires it.
Why inspect the tank if a bag is installed?
Sharp debris, moisture, or old dust may damage the new bag.
Should the vacuum be tested before entering the work area?
A brief startup test can identify leaks, dust exhaust, or abnormal sound before contamination begins.
Who should perform the inspection?
The operator using the vacuum should confirm readiness, with maintenance responsibilities clearly assigned.
Should inspection results be recorded?
Records are useful for commercial fleets, recurring failures, repair planning, and consumable tracking.
Key Takeaways
A contractor vacuum should be inspected for:
- Electrical safety
- Structural condition
- Correct wet or dry configuration
- Open airflow
- Proper filtration
- Disposal readiness
The best time to find a clogged hose, wet filter, damaged cord, or incorrect bag is before the vacuum enters the work area.
Related guides
- multi-stage shop vacuum filtration: how bags, filters, and cyclones work together
- shop vacuum maintenance checklist
- shop vacuum safety guide
- why the hose shocks you
- the downtime these checks are meant to prevent
- disposing of collected dust safely
- related: clean shop vacuum filter for contractor vacuum pre use inspection users
- related: why fine dust destroys vacuums for contractor vacuum pre use inspection users